Contents
Projects
MANAGED INFO open_in_new
- Pricing
-
Support
- The network connectivity card
- Quick start
- The device identifiers card
- Requirements for use
- Supported configurations
- Use cases
- Customise the experience
- Request a new feature
- Managed configuration JSON payload
- Troubleshooting issues
- Using admin override configuration in kiosk mode
- Kiosk vs launcher mode
- Deploy APK packages
- Deploy certificates
- Deploy device wallpapers
- Release notes
MANAGED SETTINGS open_in_new
PACKAGE SEARCH open_in_new
MANAGED ARCHIVER open_in_new
Change log
Configure MANAGED SETTINGS for Pulsus
Contents
MANAGED SETTINGS can be set up quickly and easily through Pulsus.
Prerequisites:
- Android Enterprise is bound
- A device group exists, or will be created for this guide
- Requirements are met
- A licence key, if desired
You'll note in the below configuration steps, nowhere is it mentioned to import or attempt to configure the native Settings application. For the Kiosk use case, blocking Settings (com.android.settings) through the install type of Blocked will prevent MANAGED SETTINGS from working.
It is not necessary. Native Settings needs not be present in the application list at all.
Add MANAGED SETTINGS to Pulsus
#Head to APPLICATIONS on the left-hand navigation.
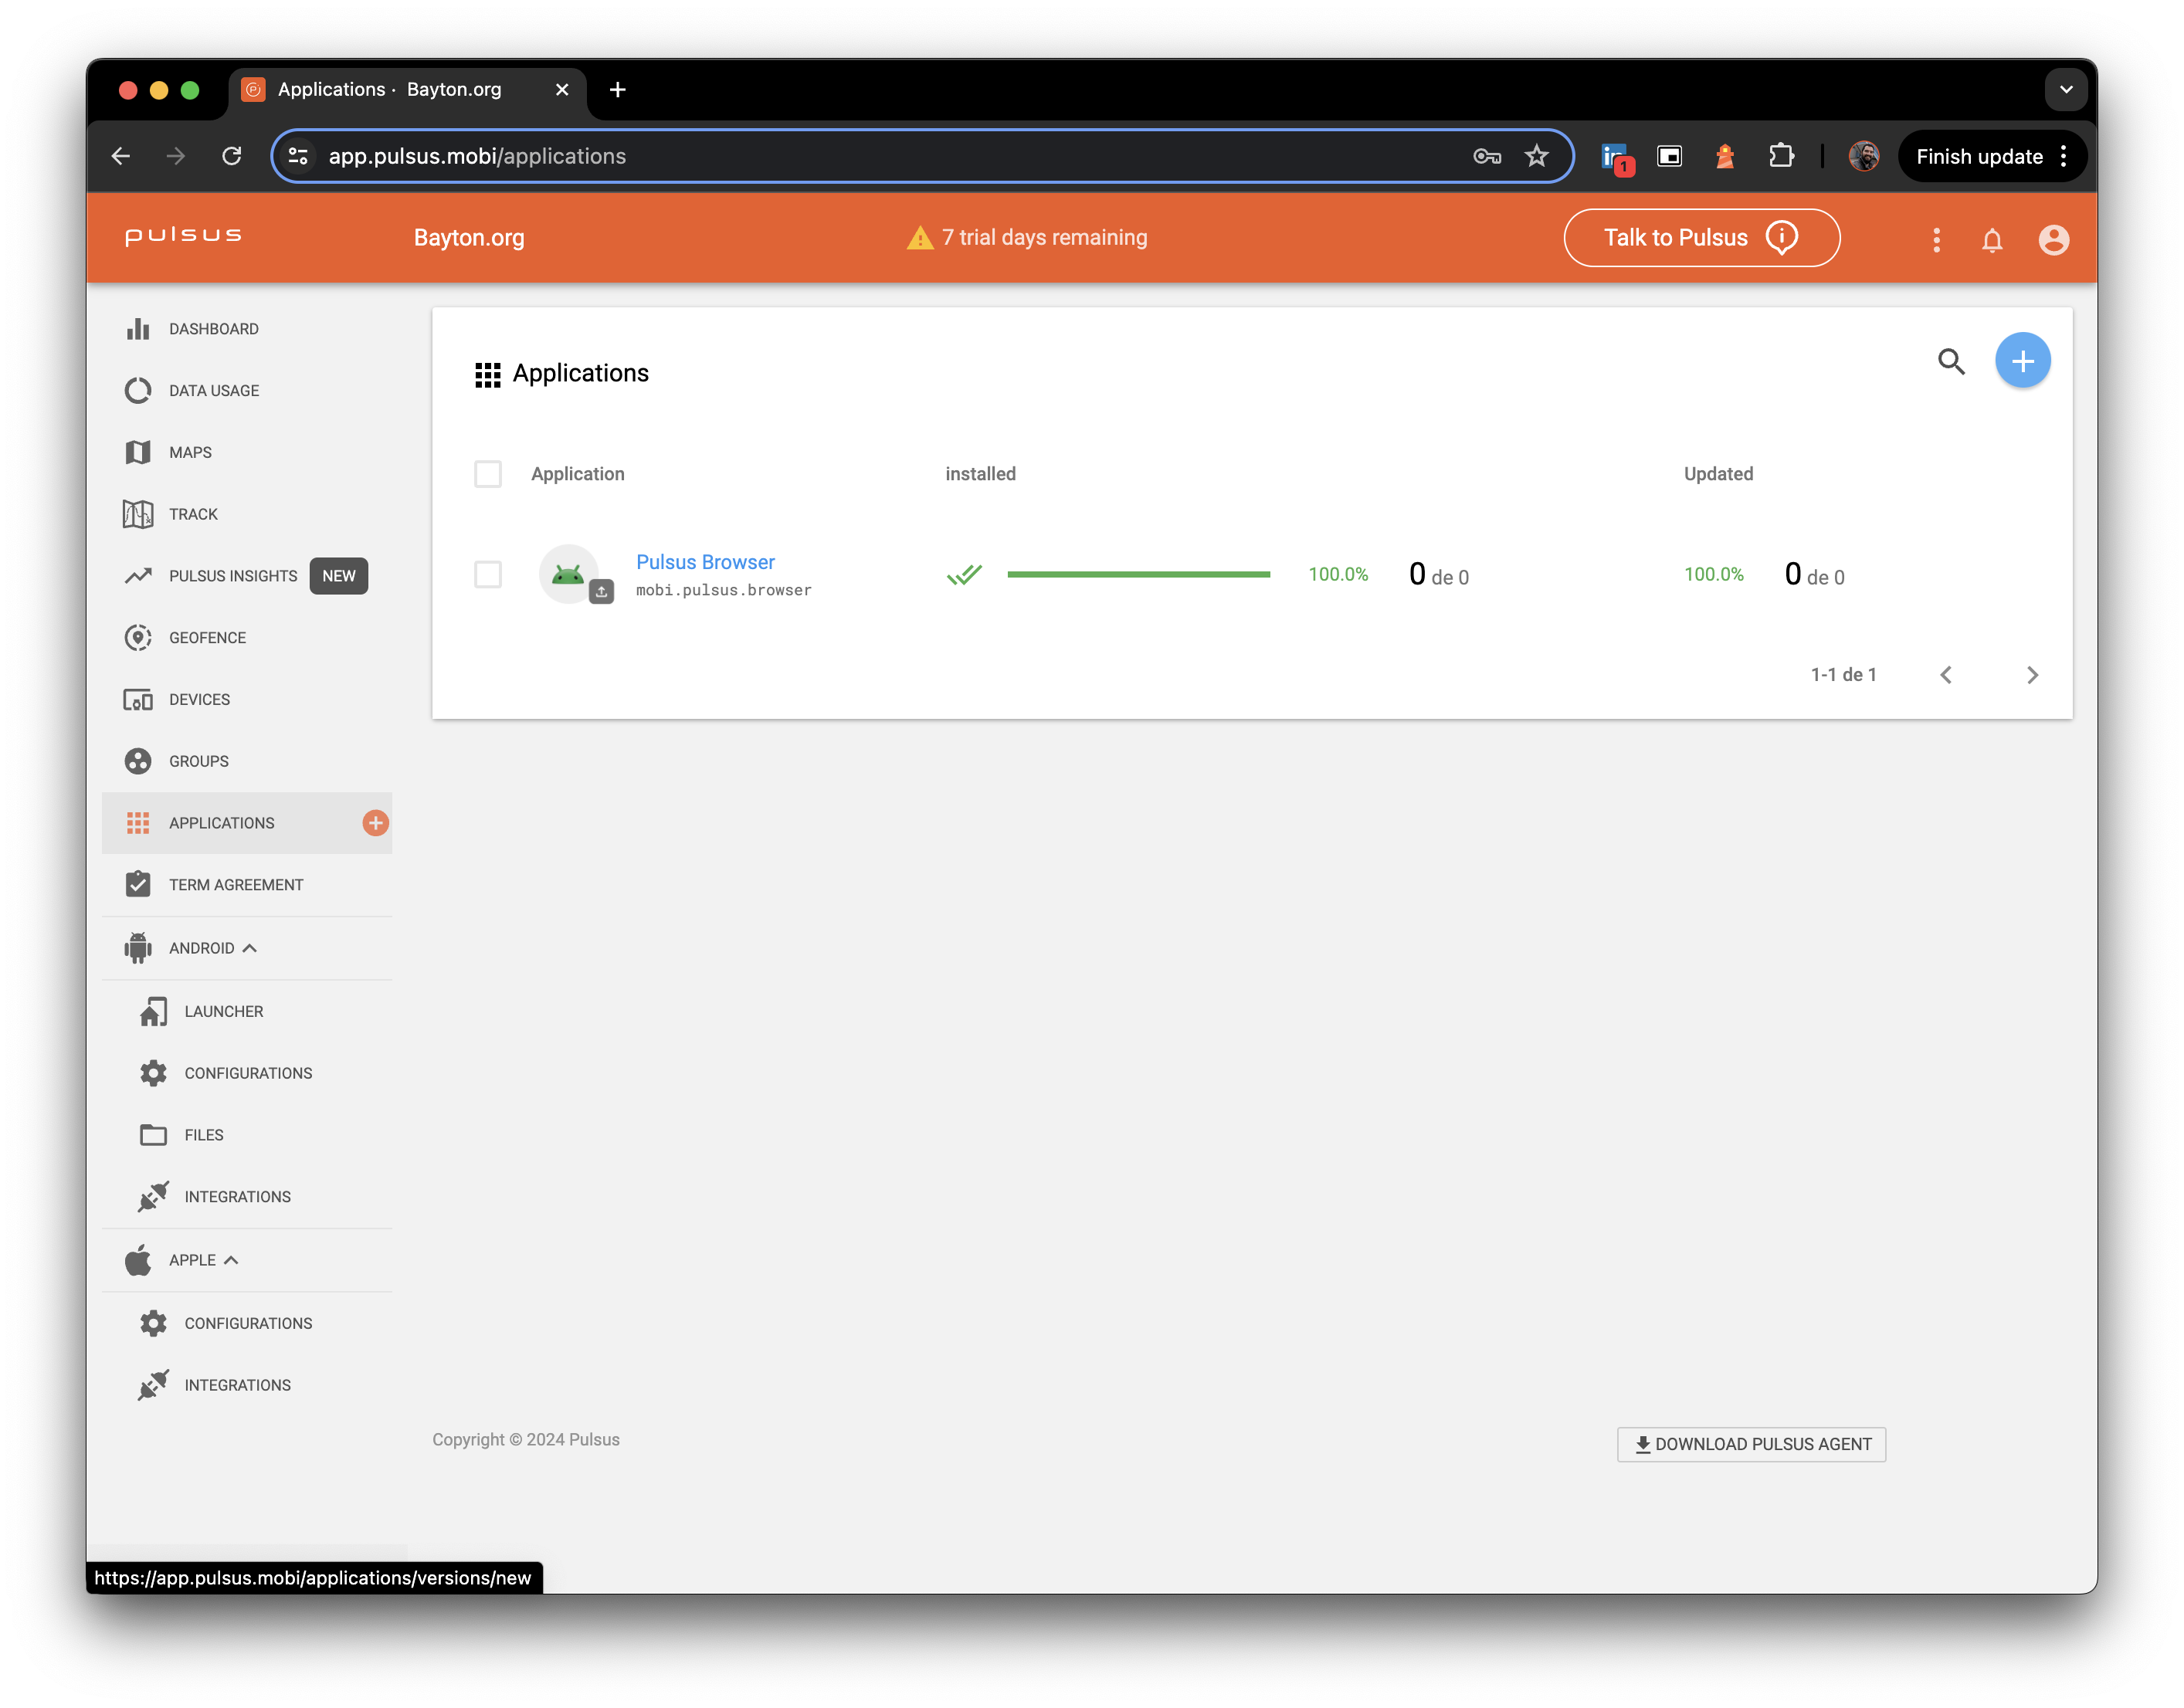
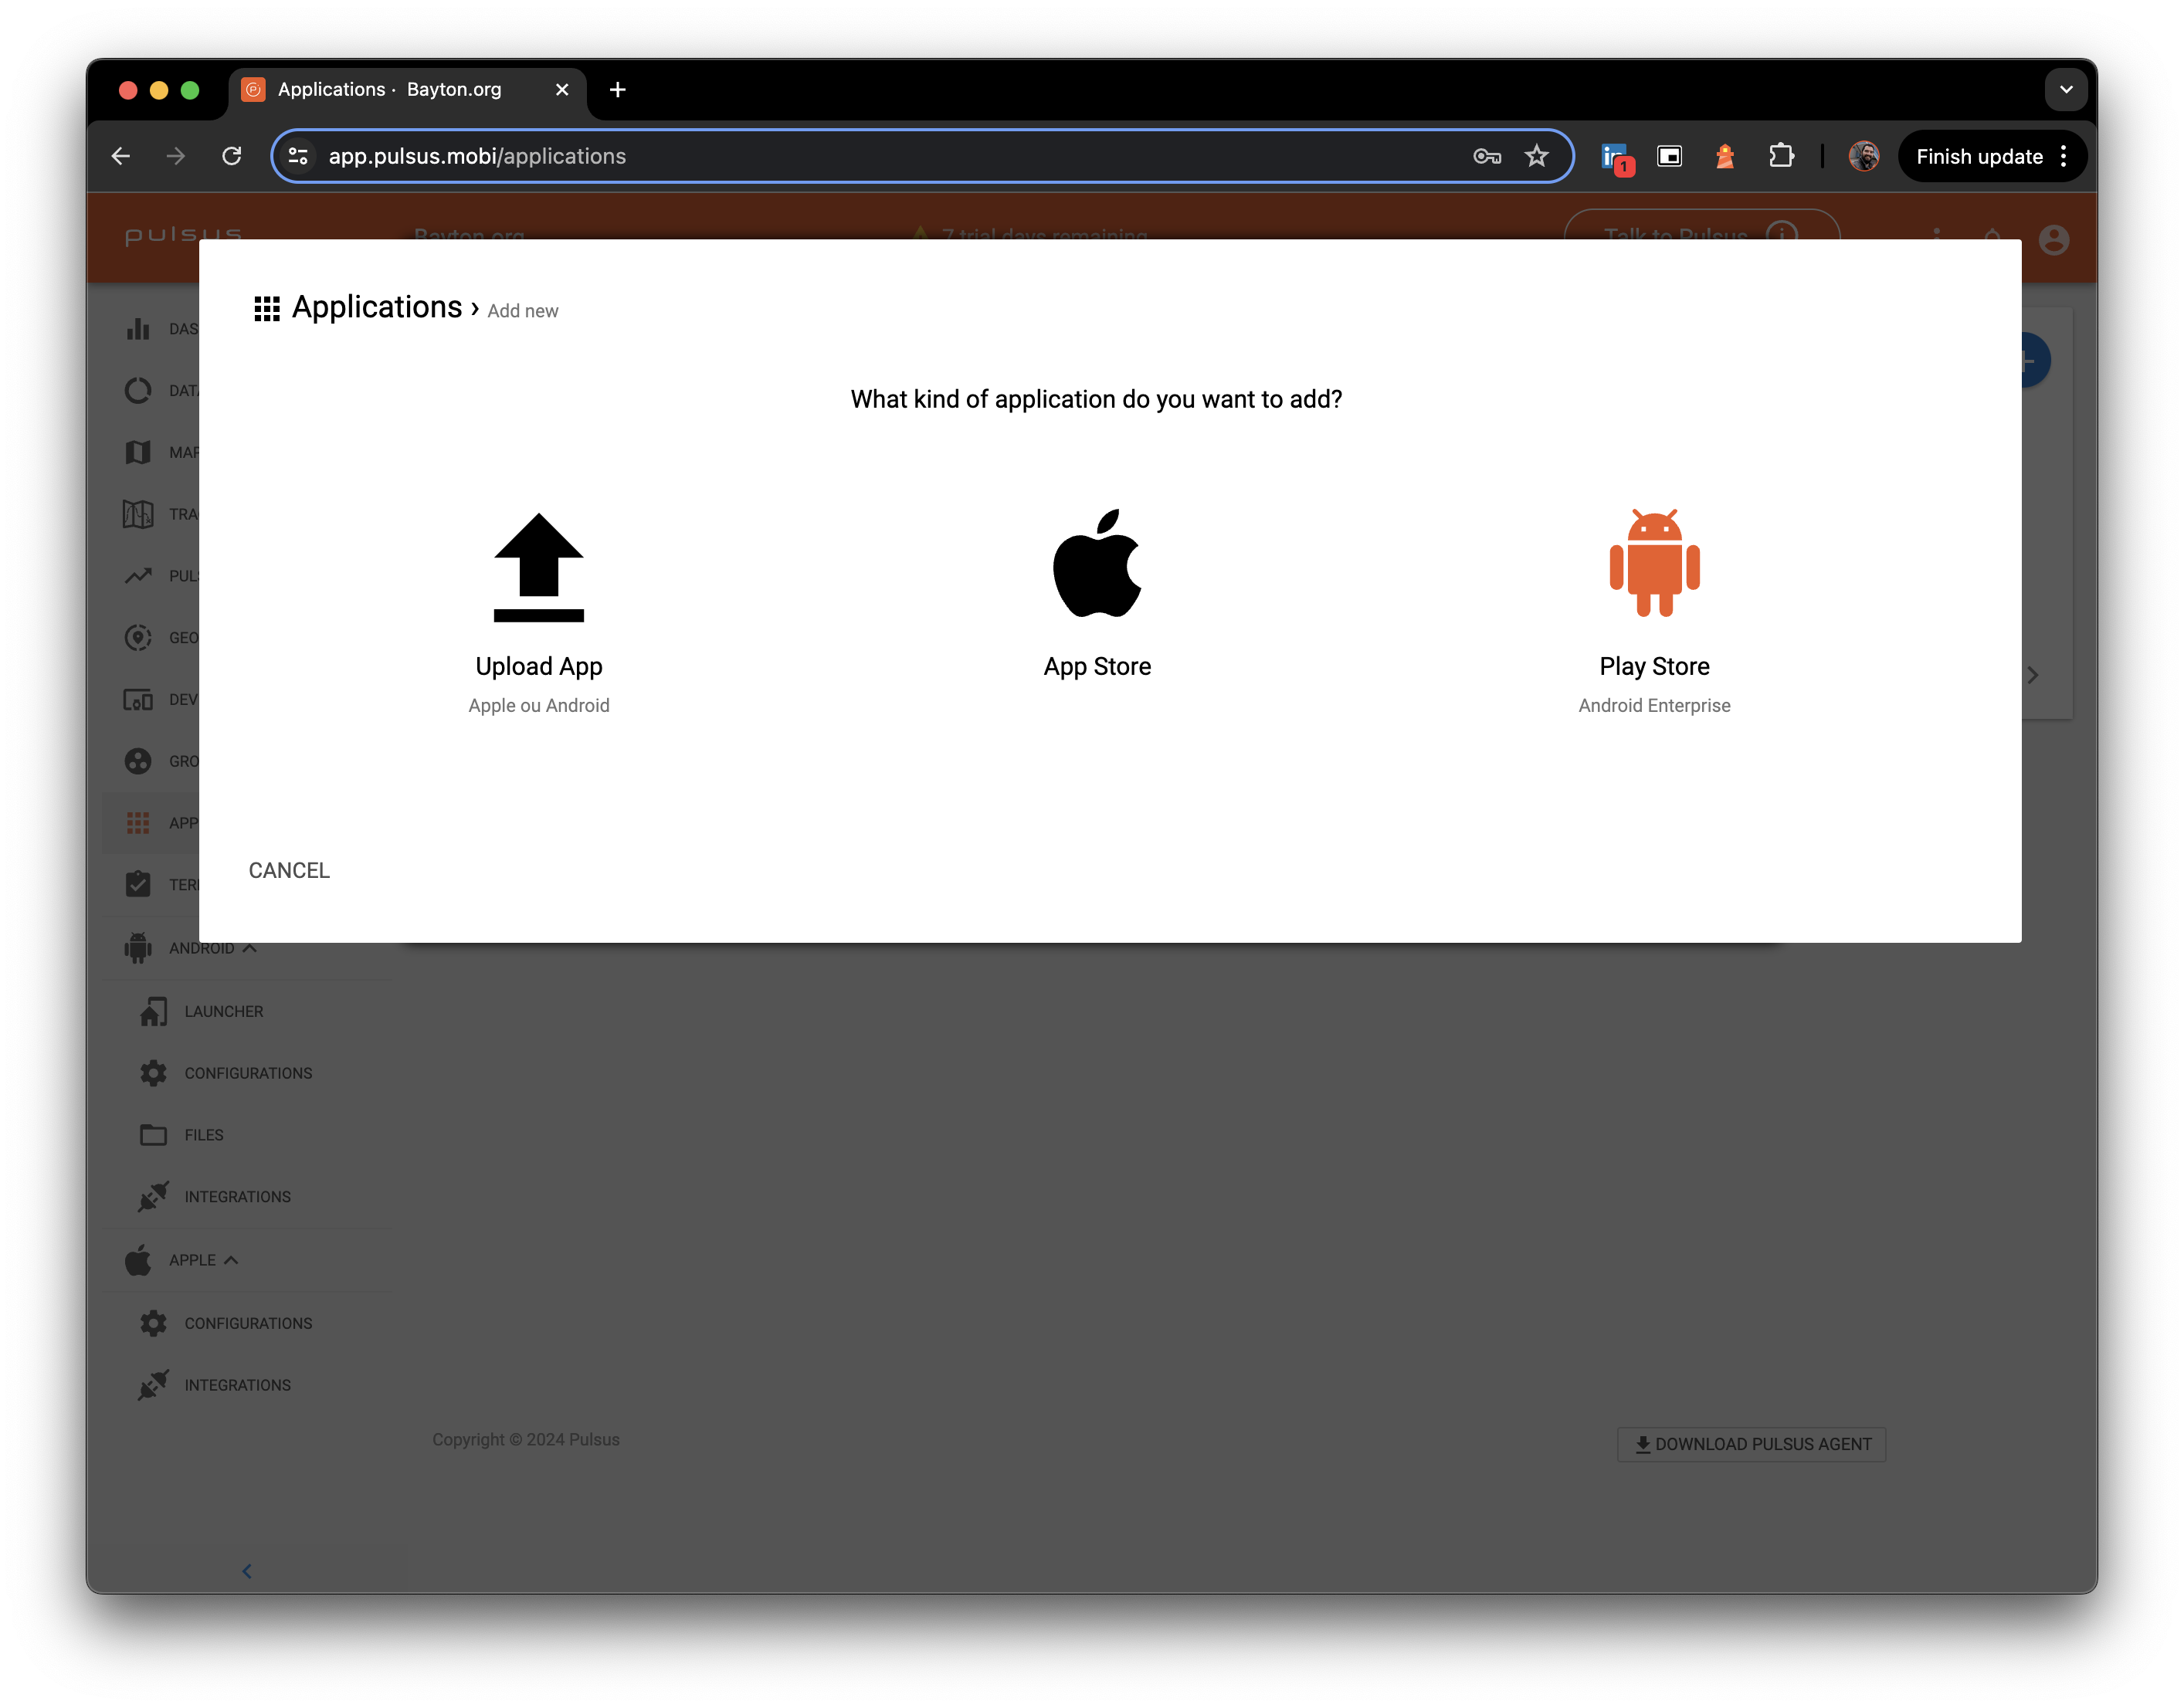
Click the + icon and select Play Store.
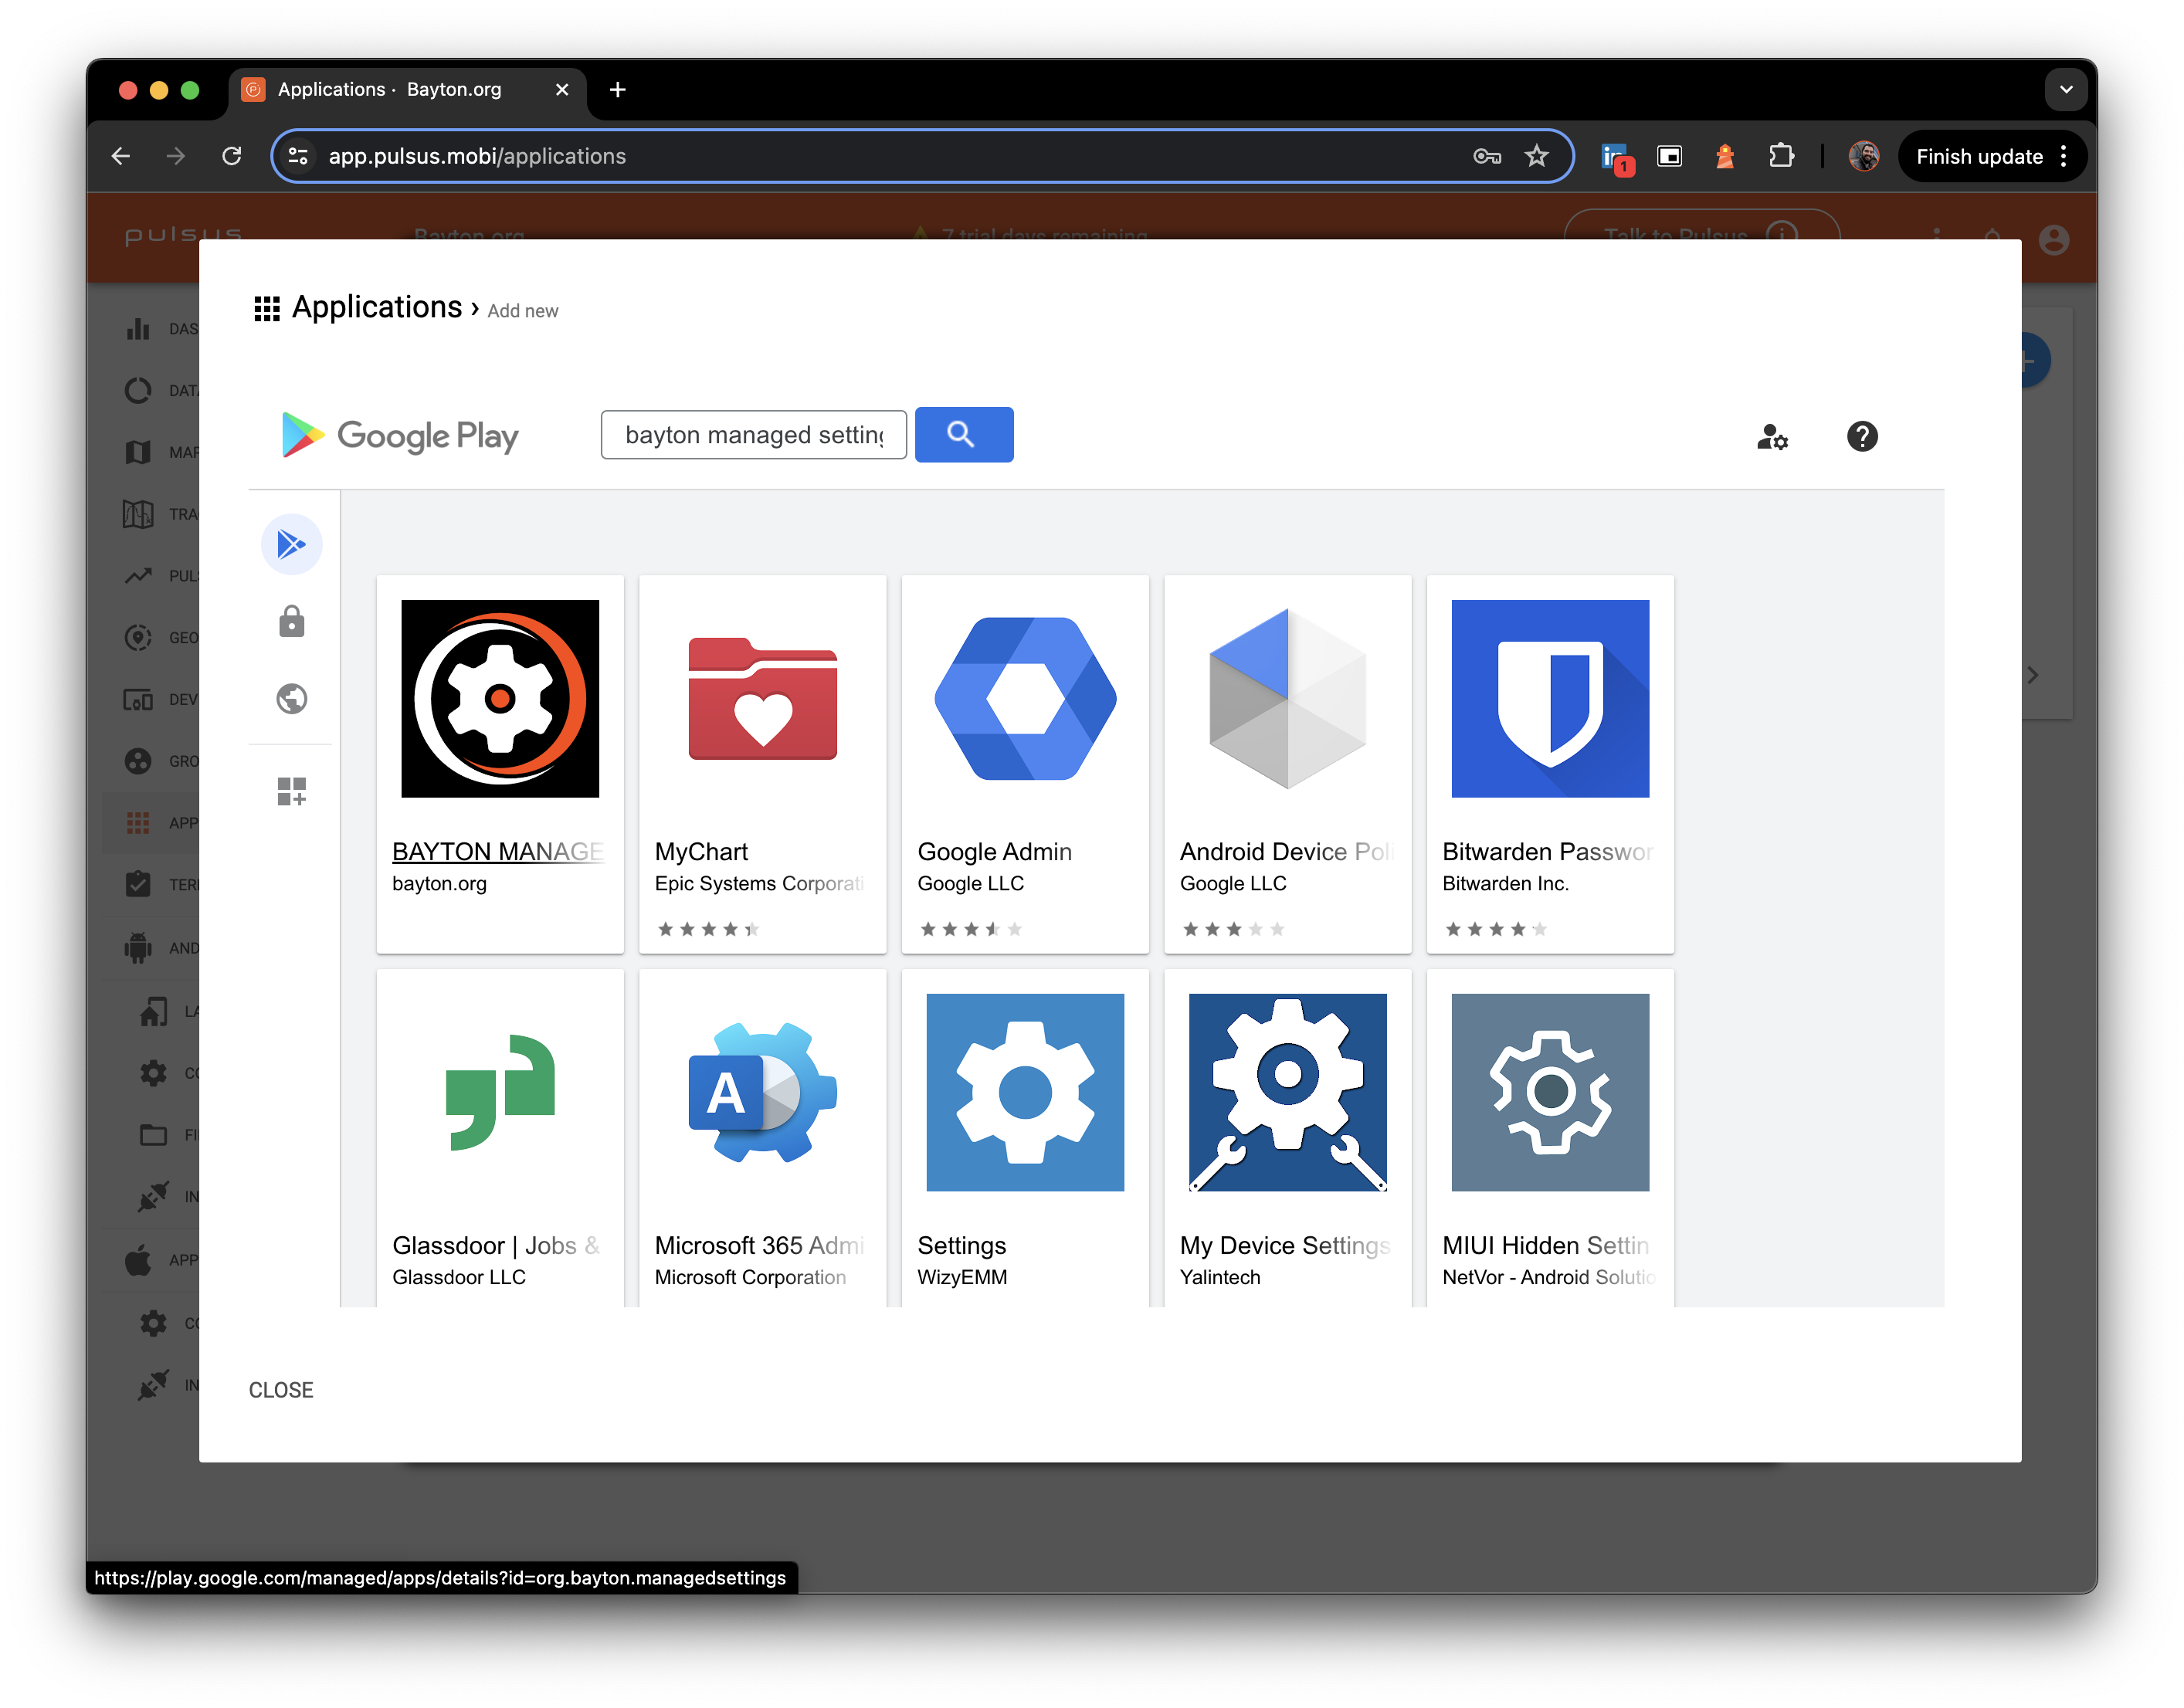
Search for BAYTON MANAGED SETTINGS, or org.bayton.managedsettings if the former returns no results. Click the title to select the app.
Click Select.
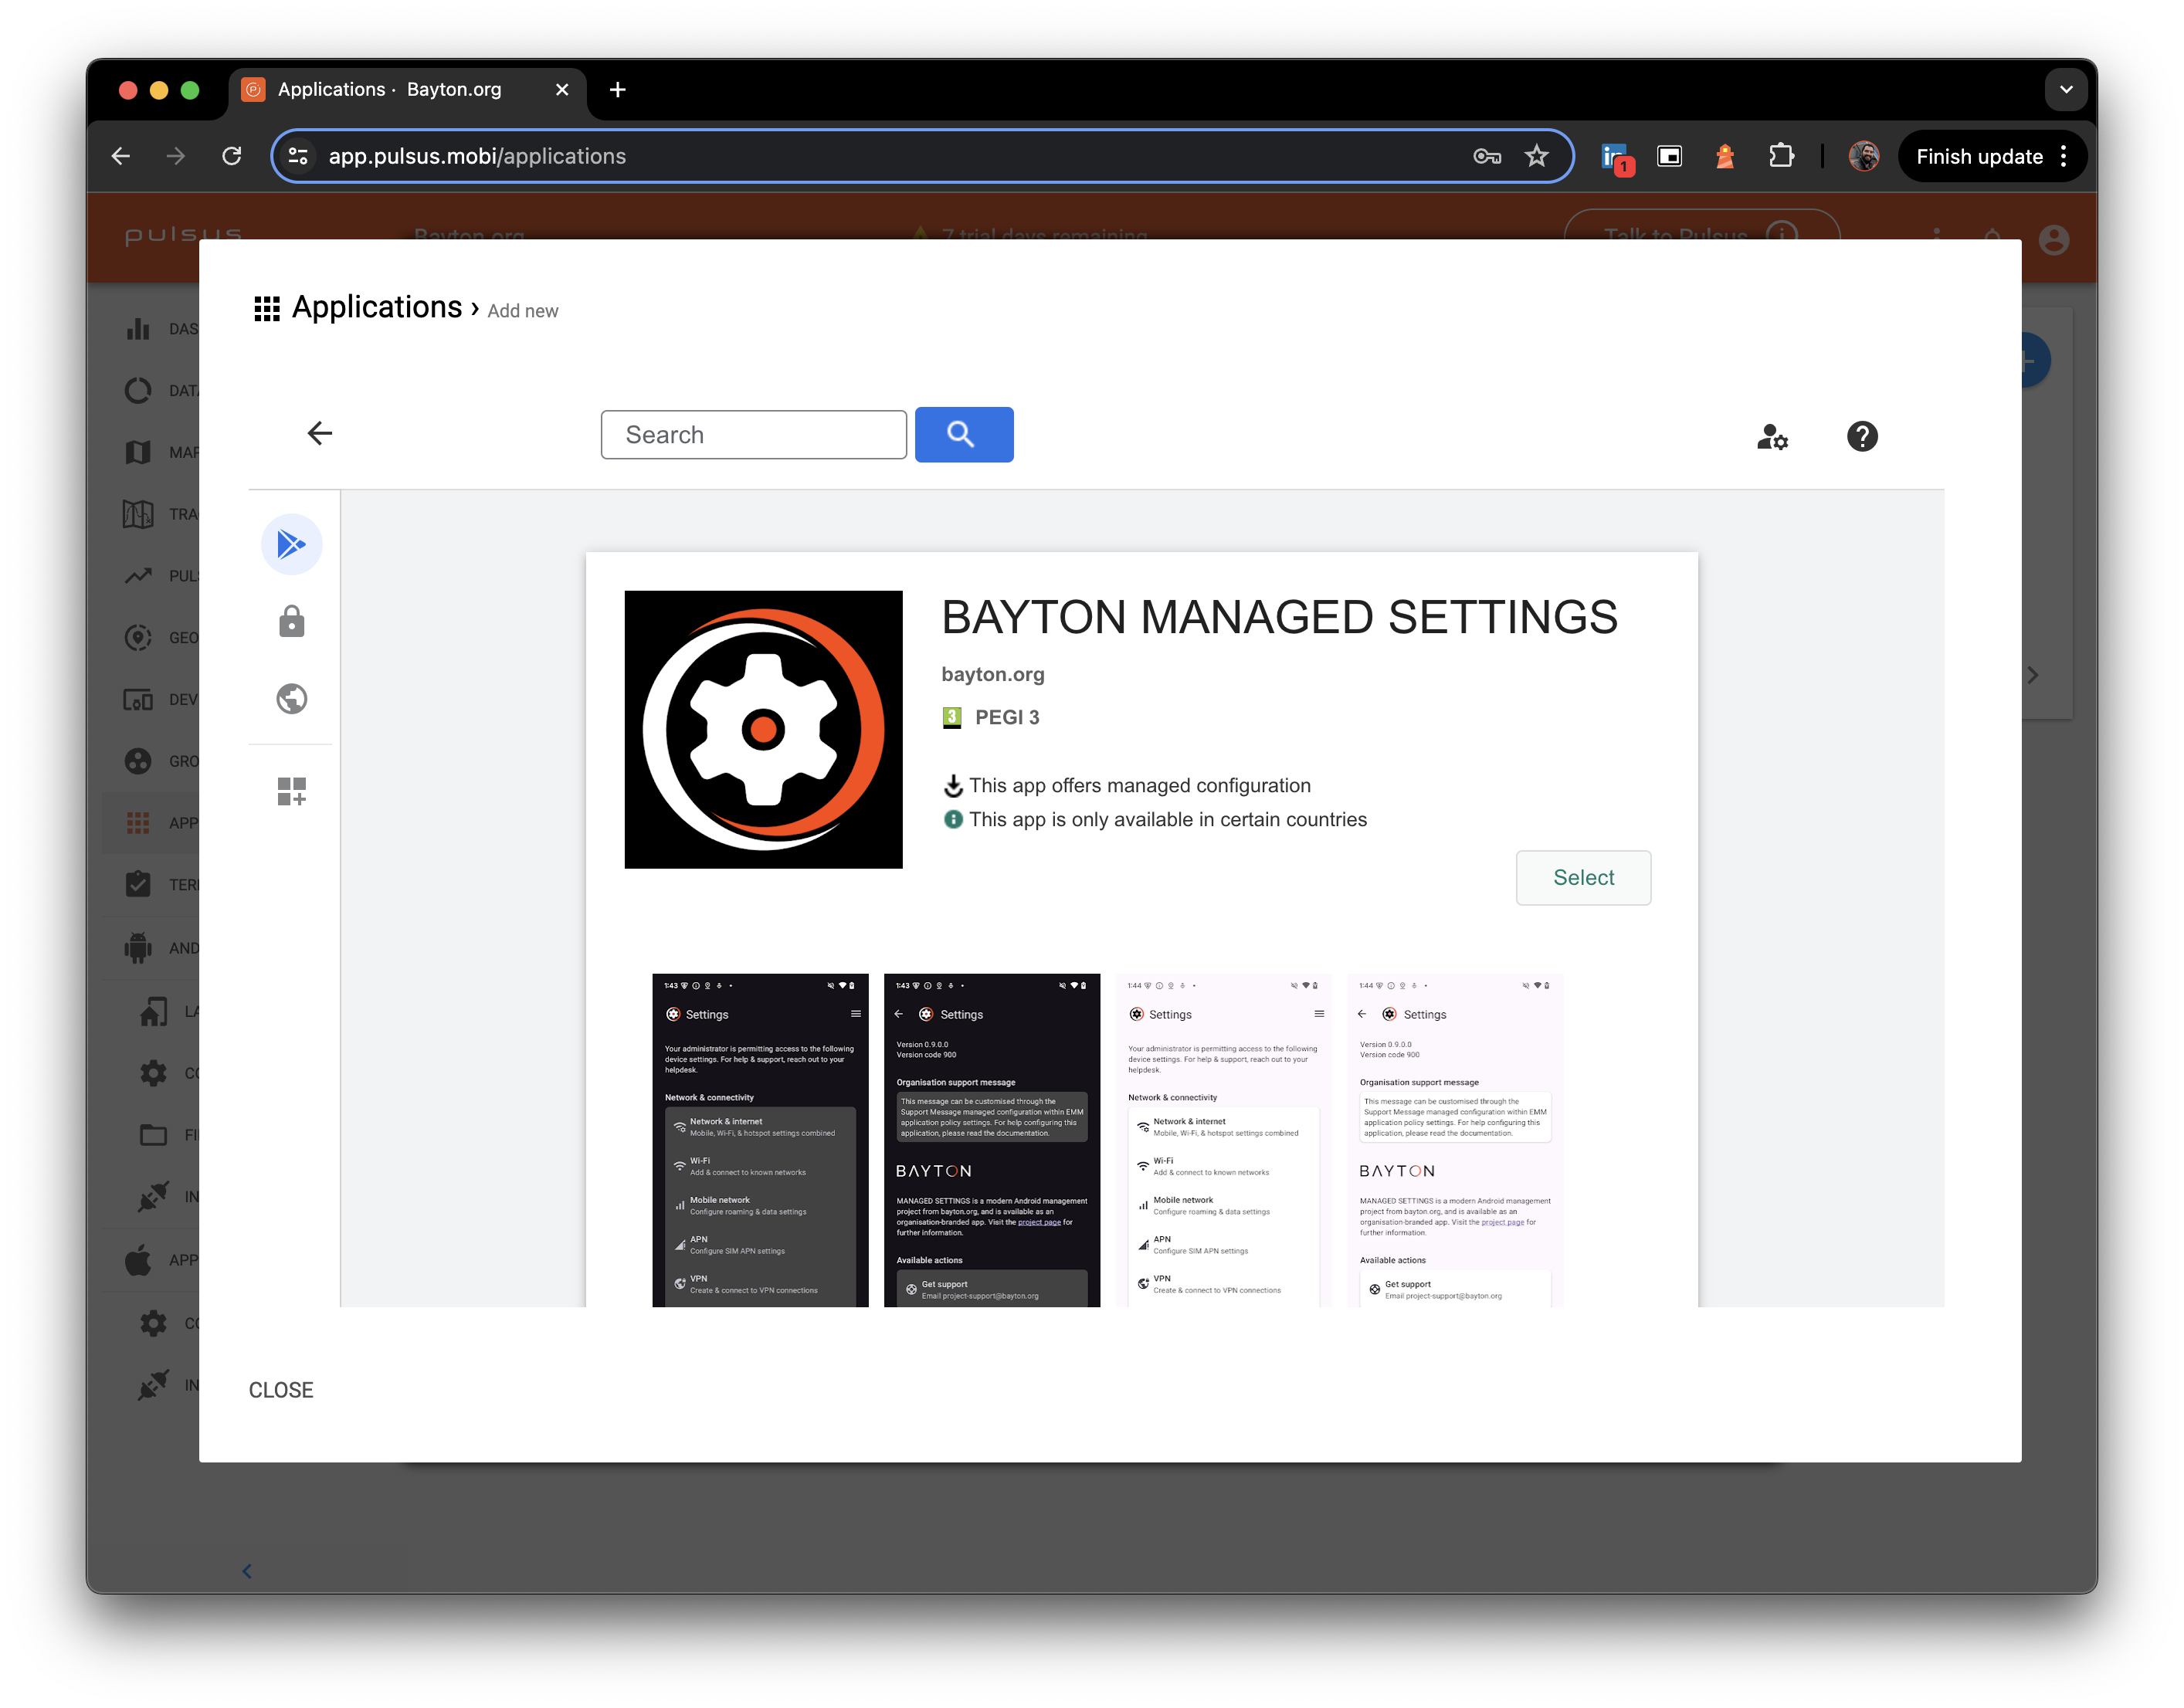
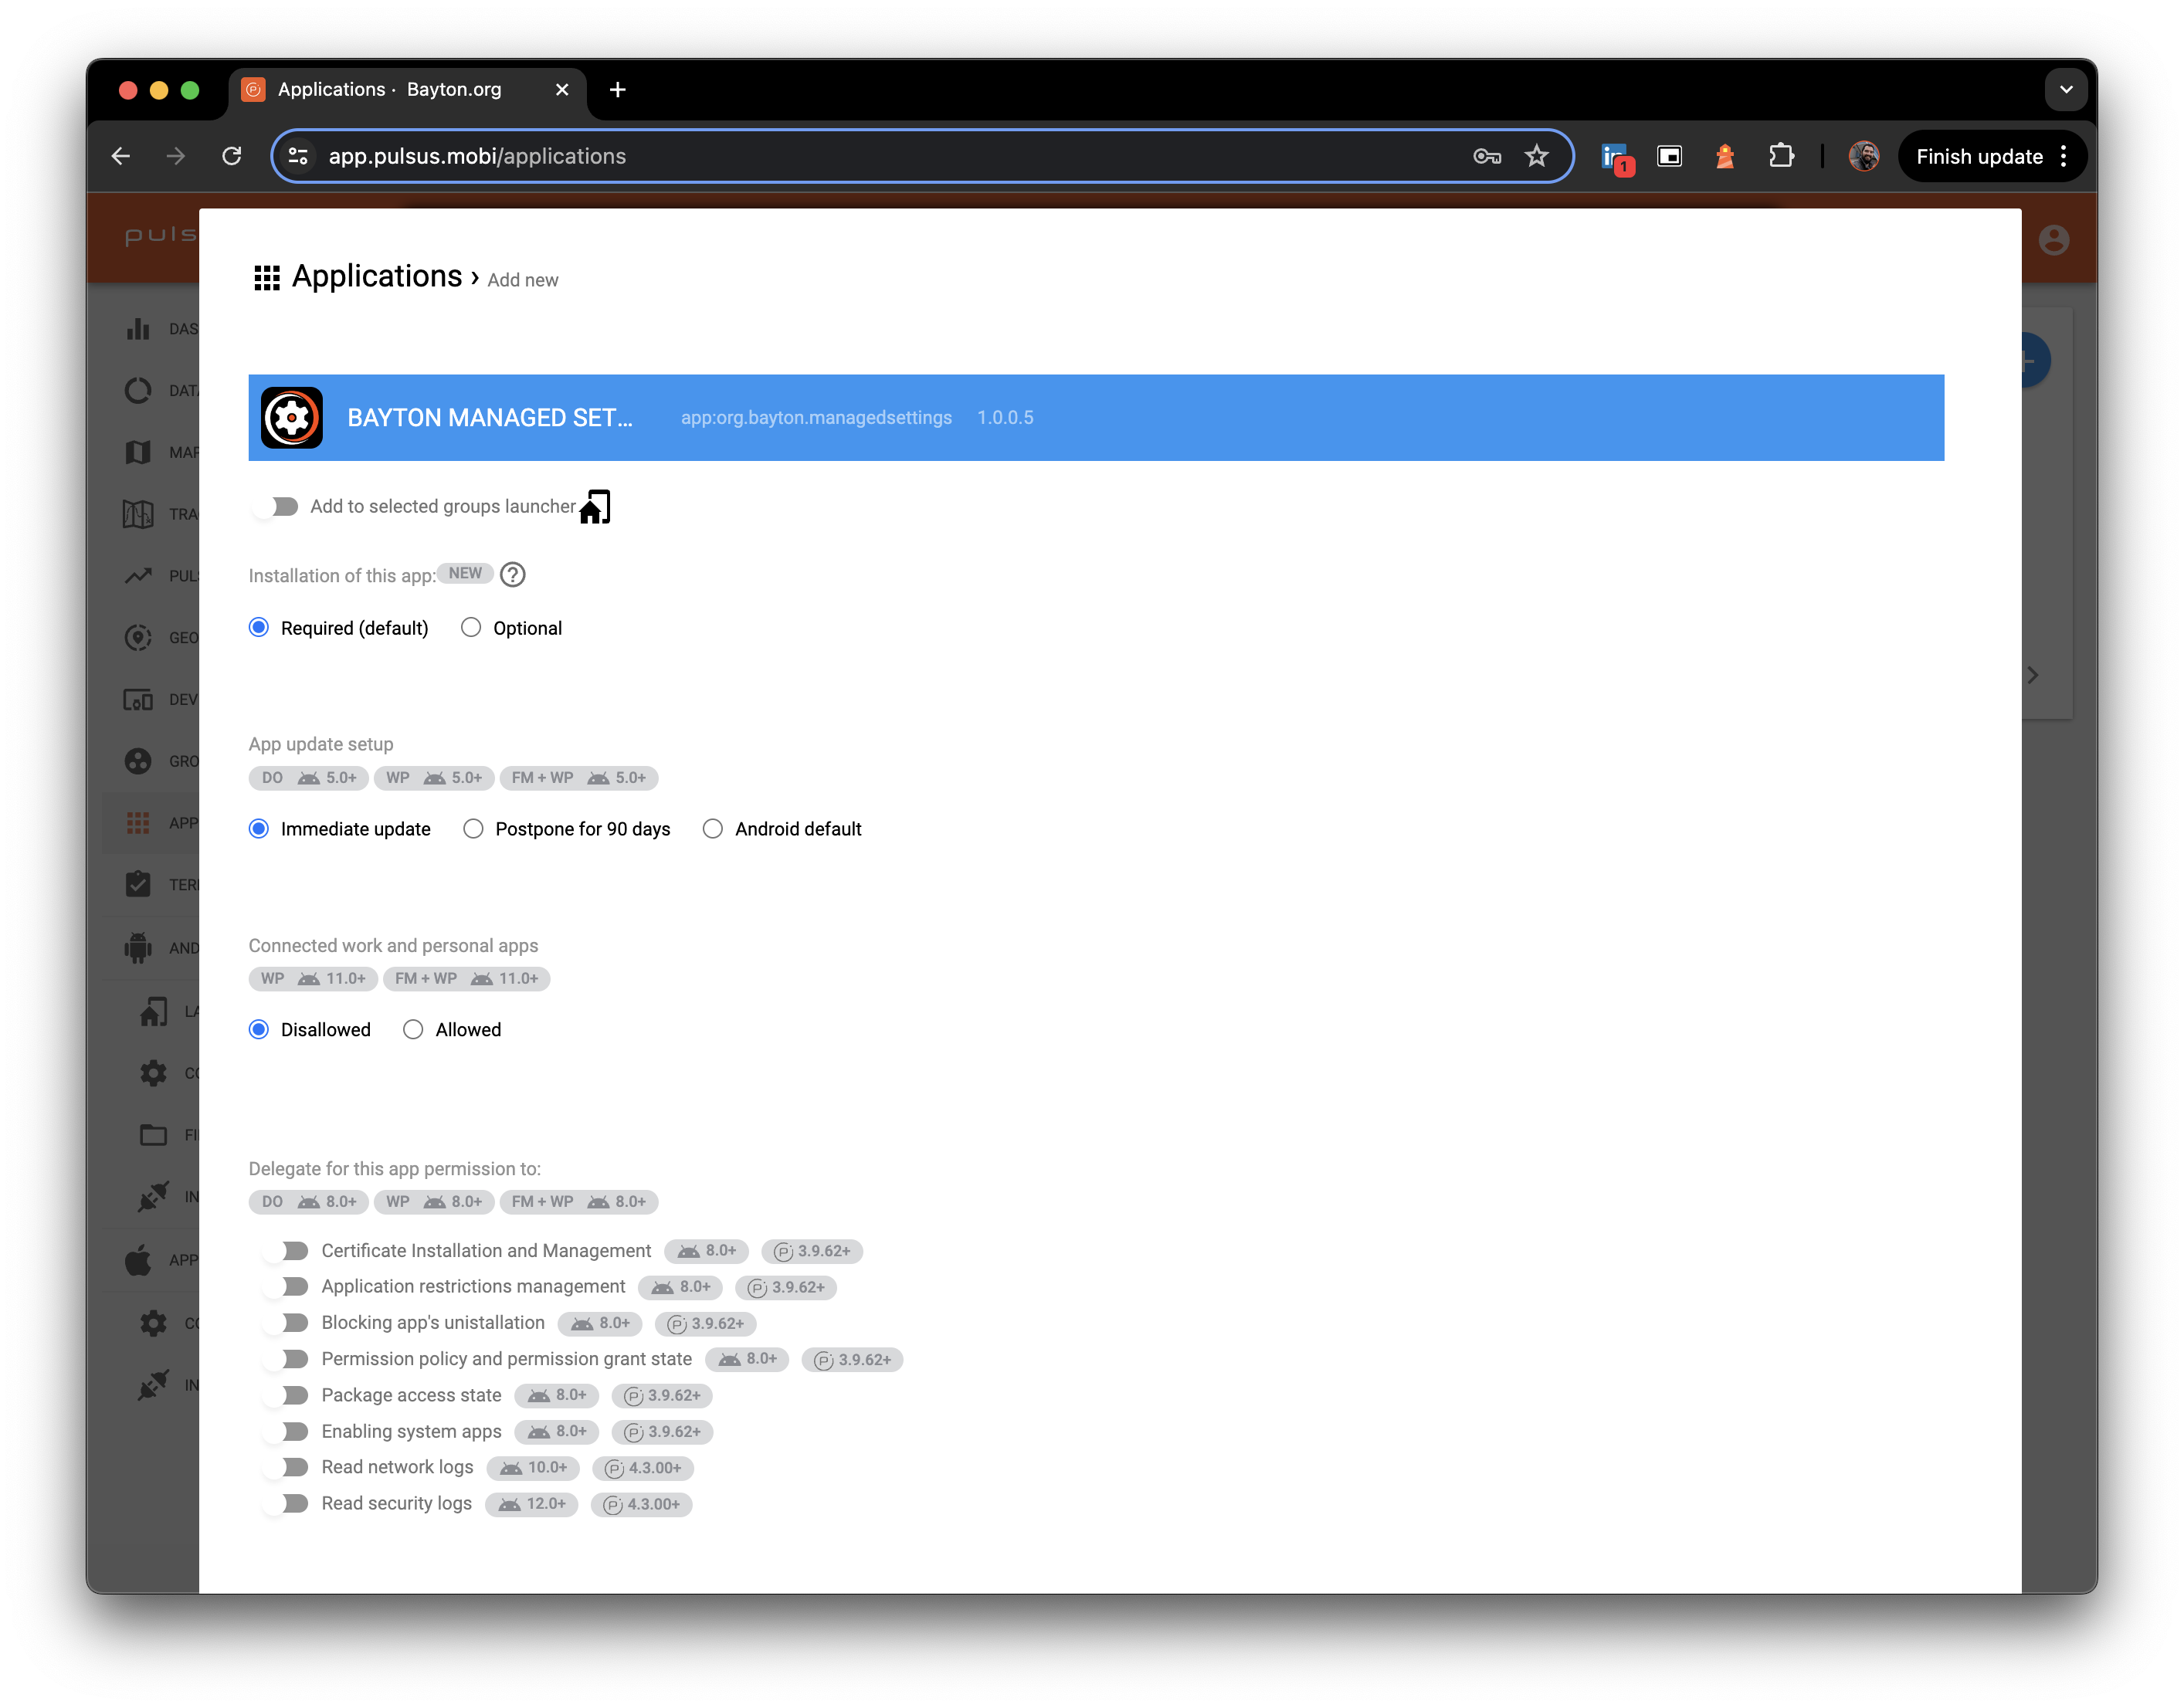
A configuration page will now appear, allowing for app install, permissions, and configuration settings. Set these as desired, or leave them default to enforce installation.
Scroll down, and assign MANAGED SETTINGS to the appropriate group
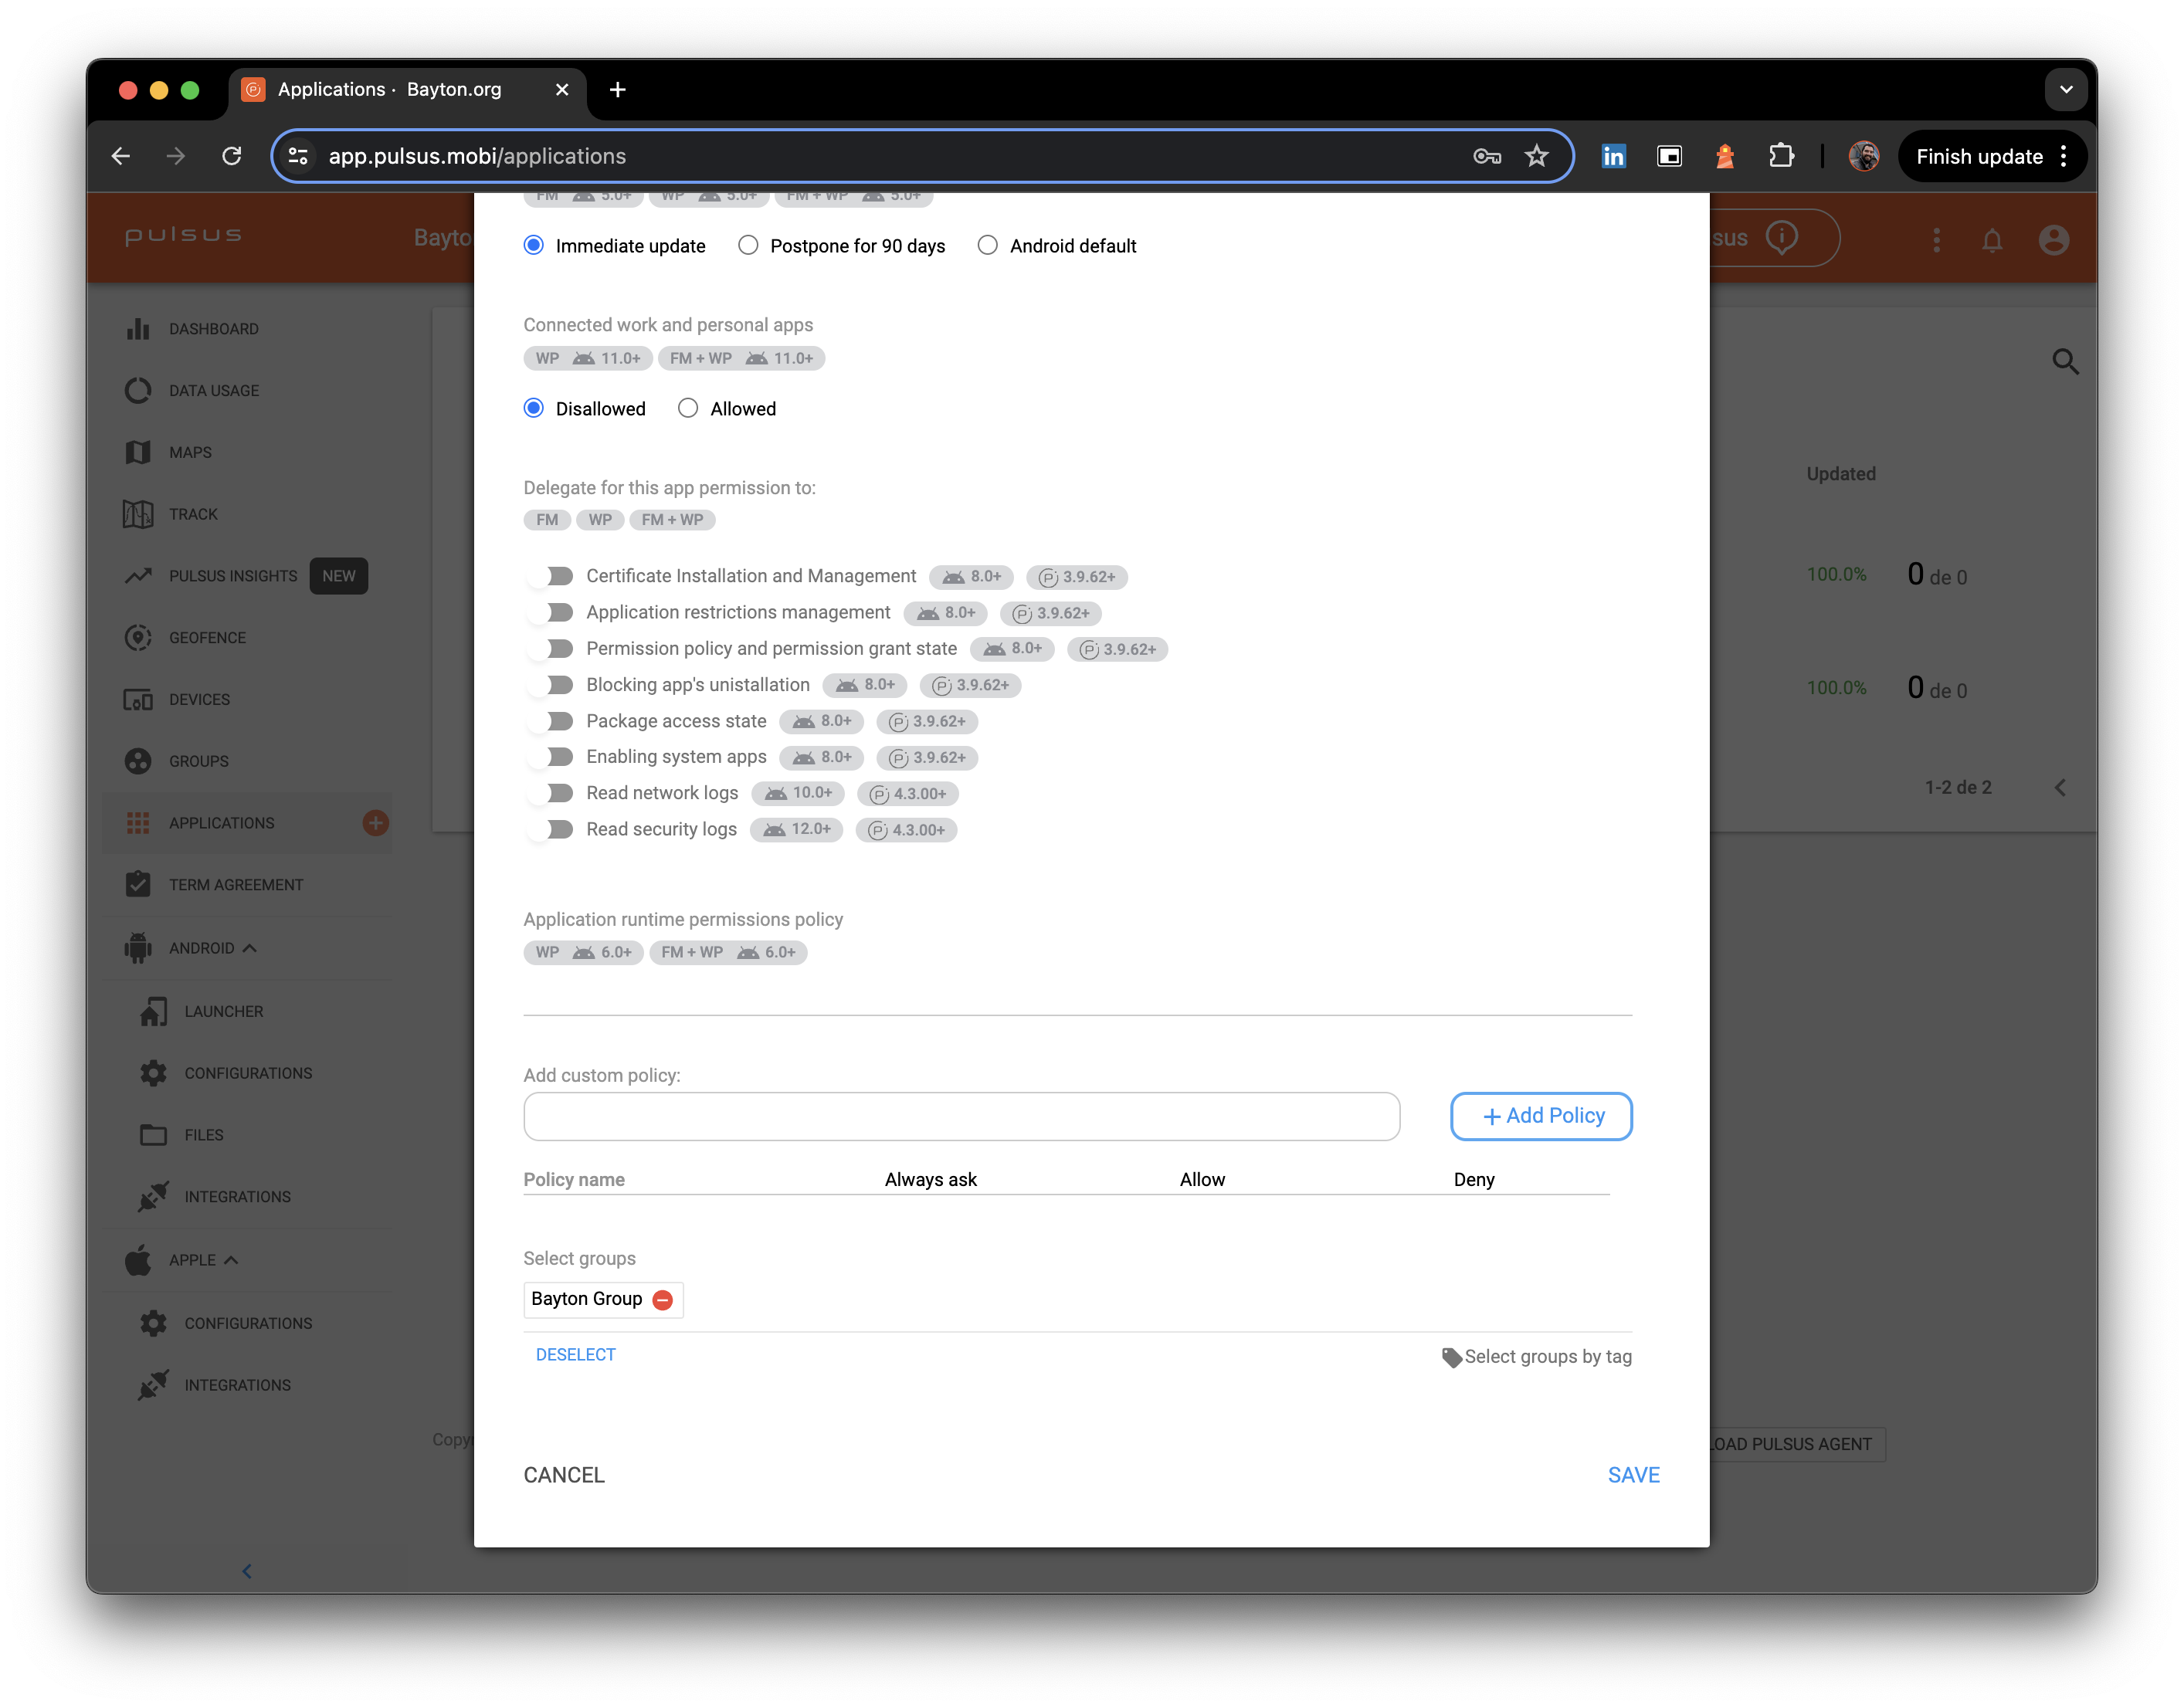
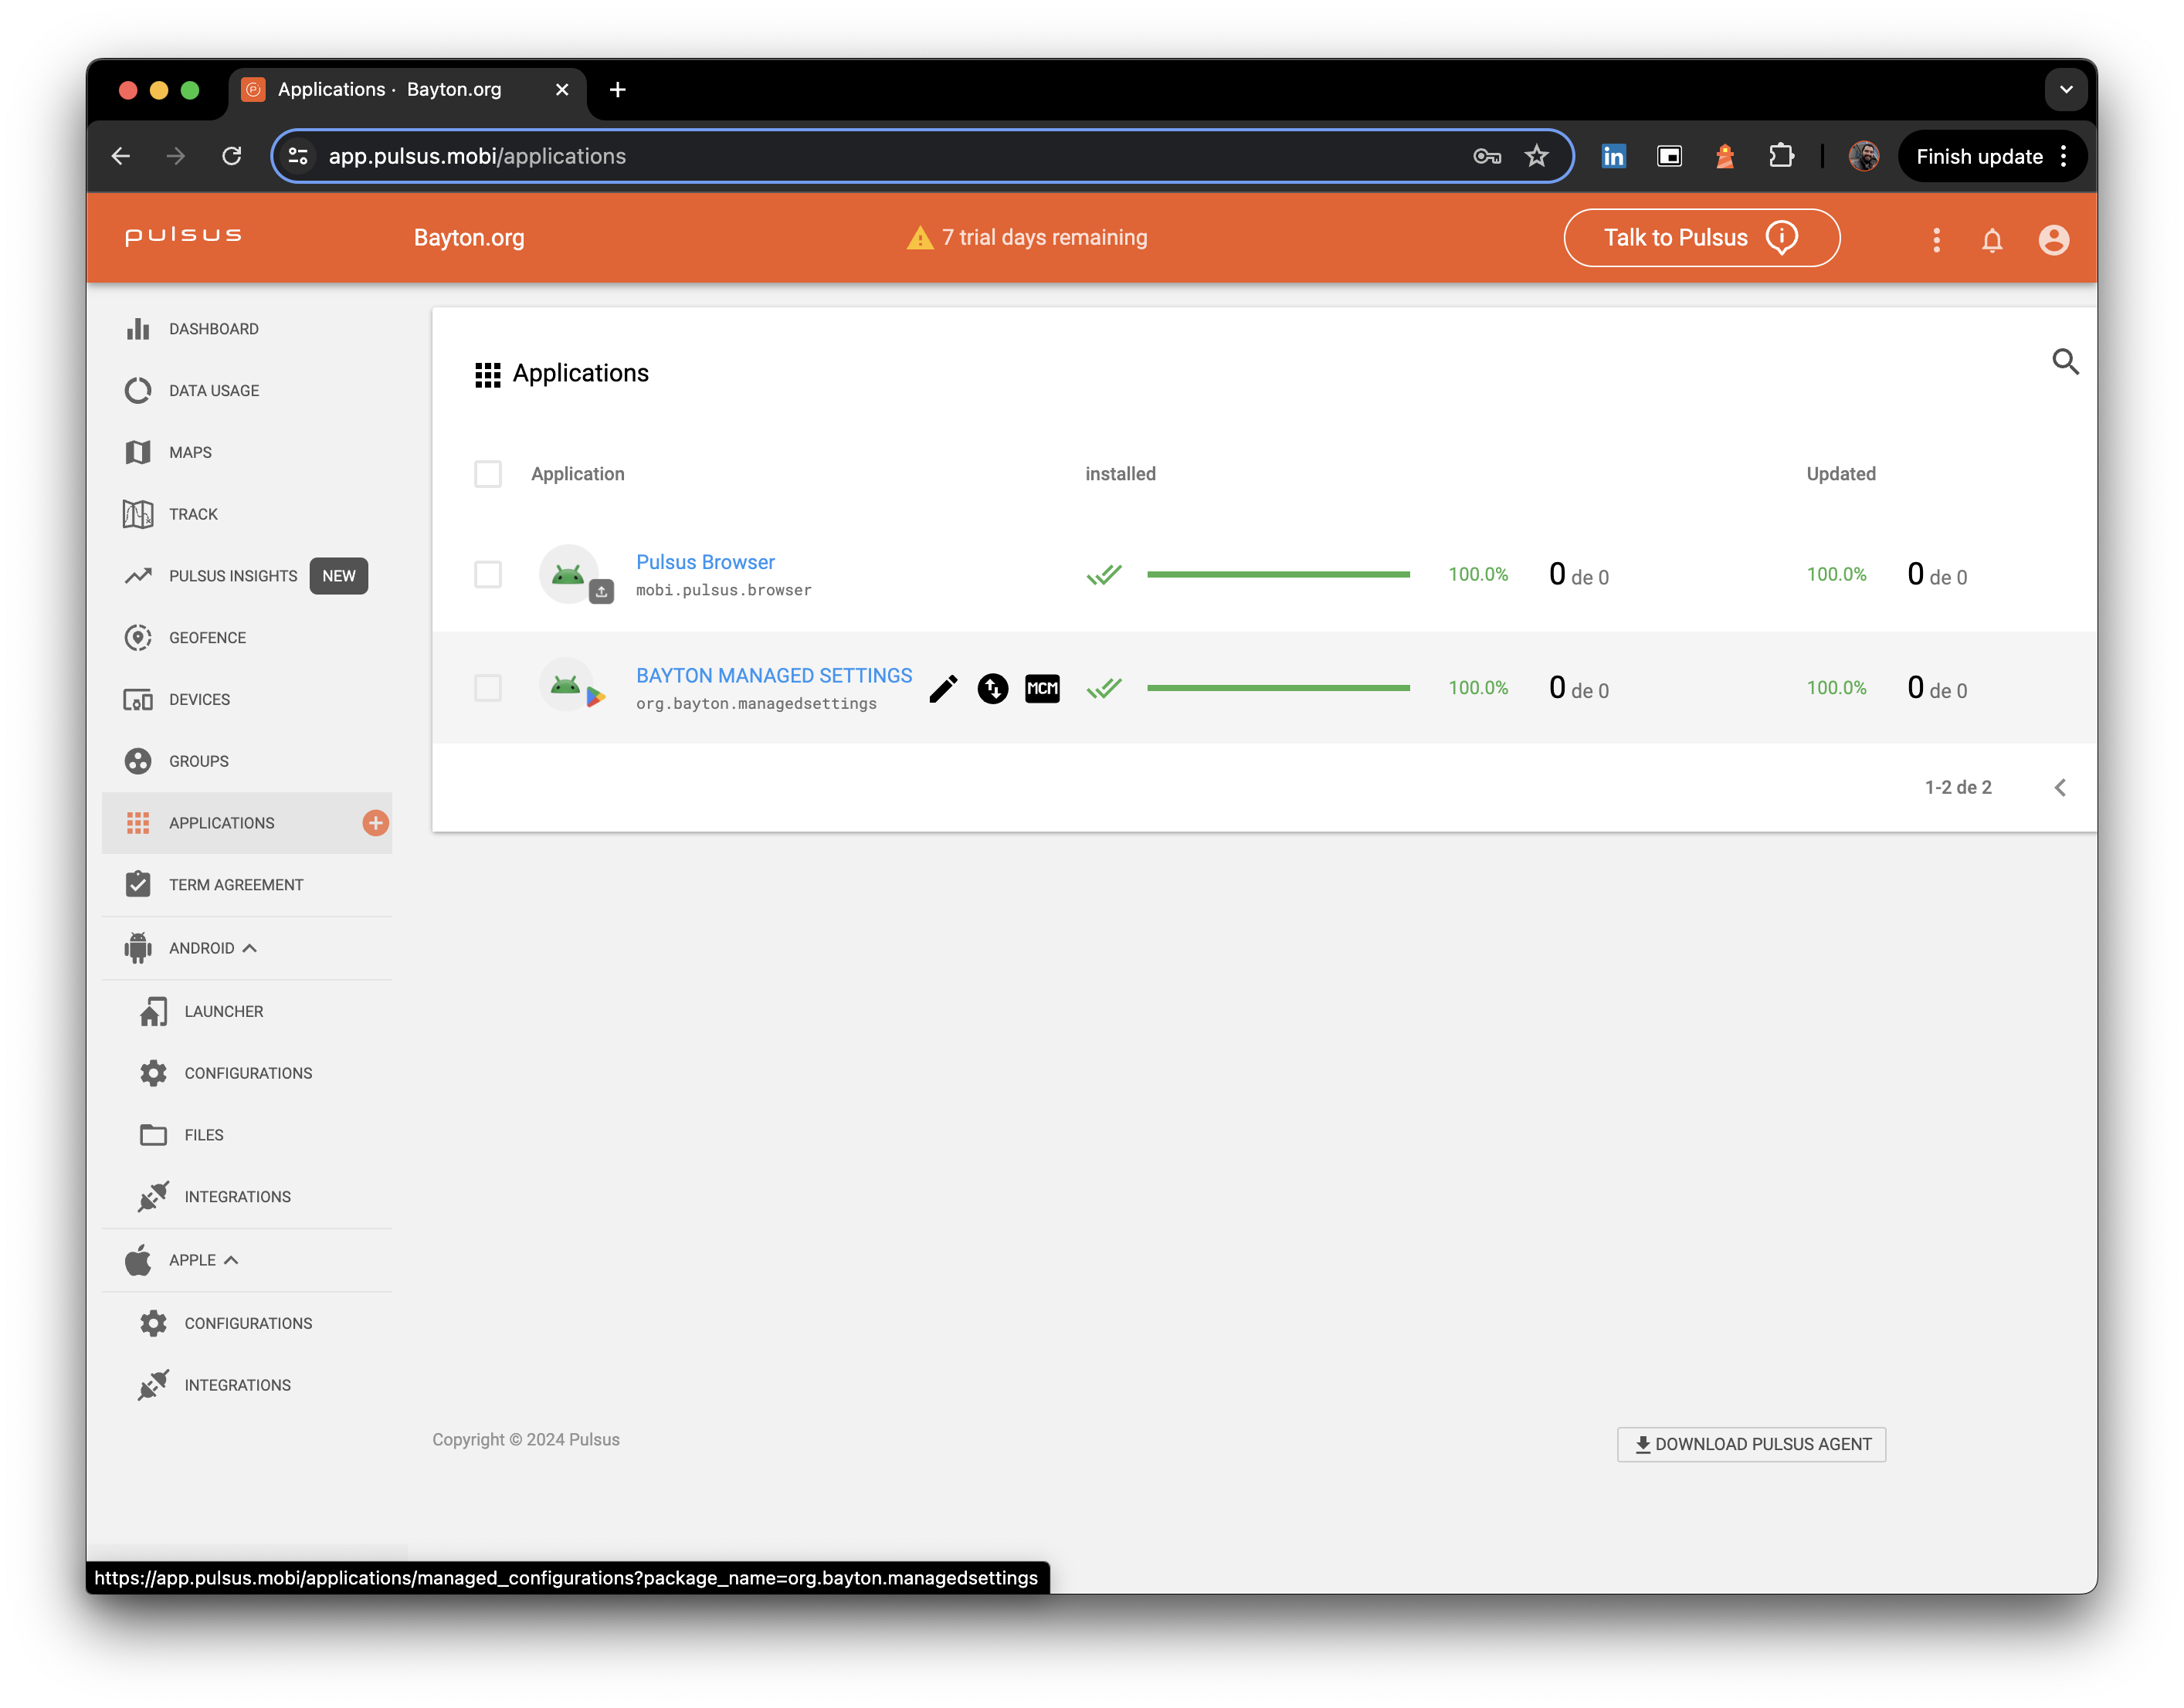
Click SAVE. MANAGED SETTINGS will appear in the apps table.
Configure MANAGED SETTINGS
#Hover over the MANAGED SETTINGS entry in the app table, and click MCM
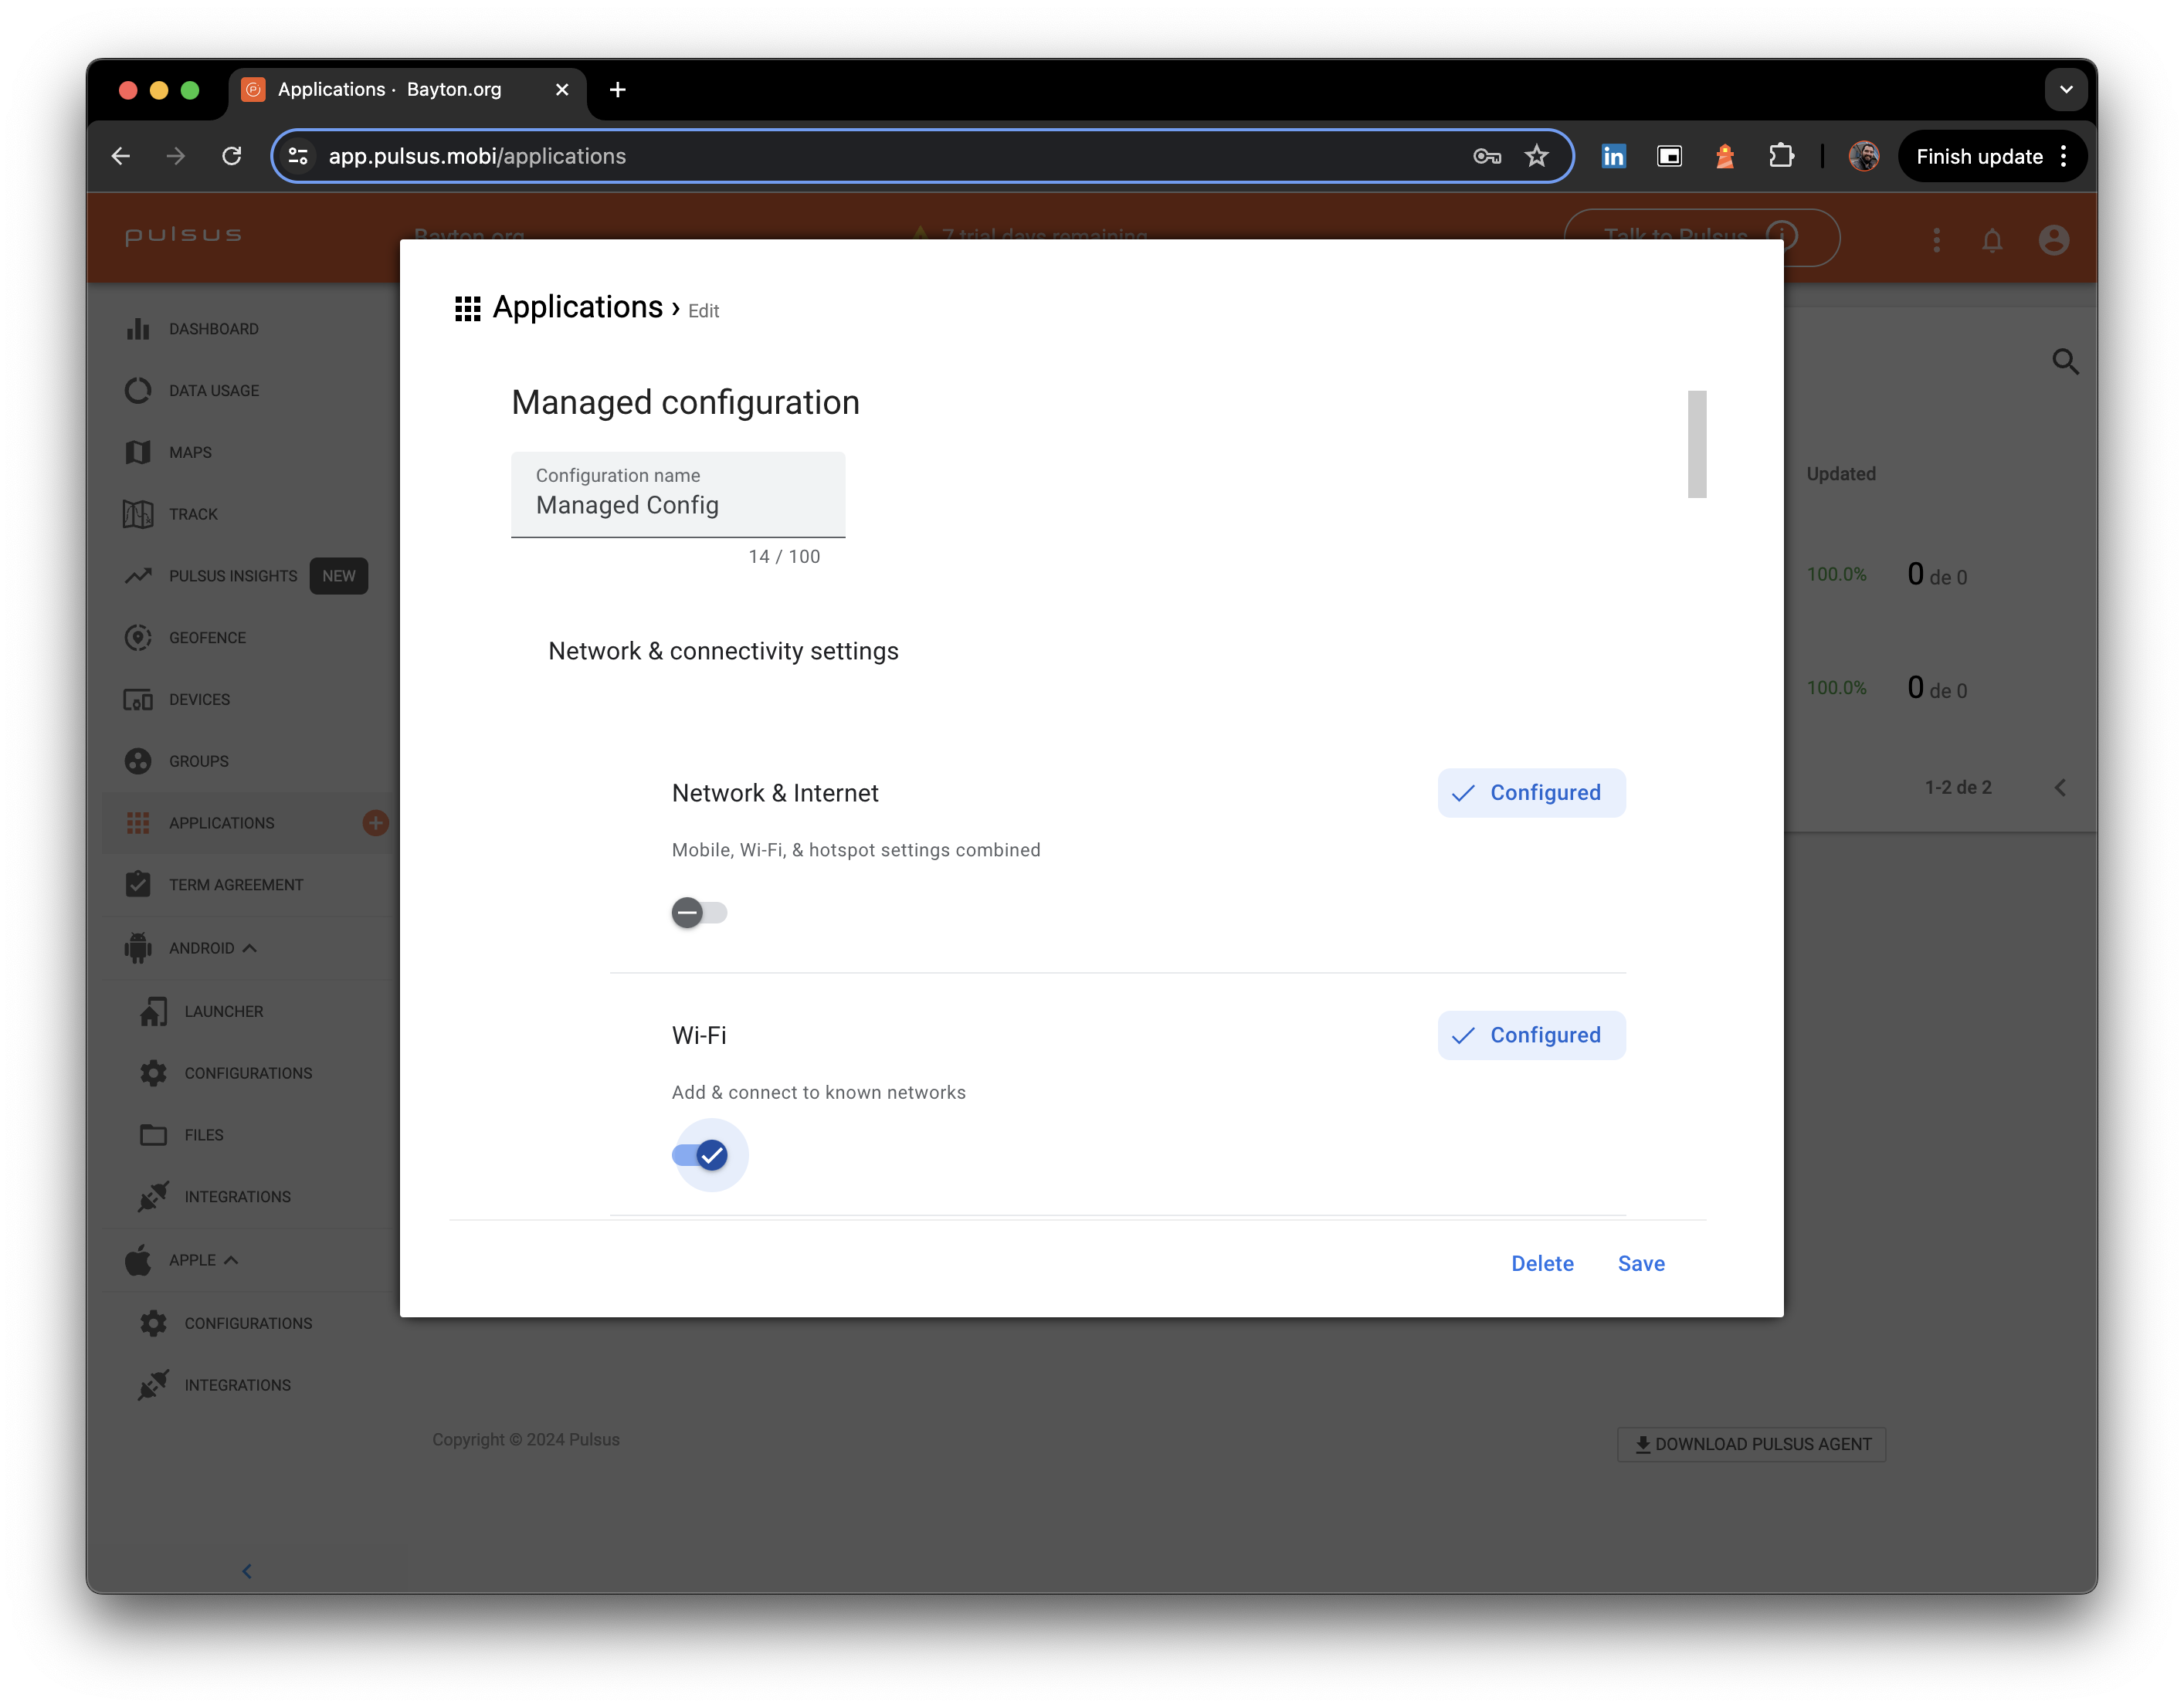
Create a config name, set the appropriate configs, and click SAVE.
Configure the launcher
#On the left-hand navigation, select LAUNCHER.
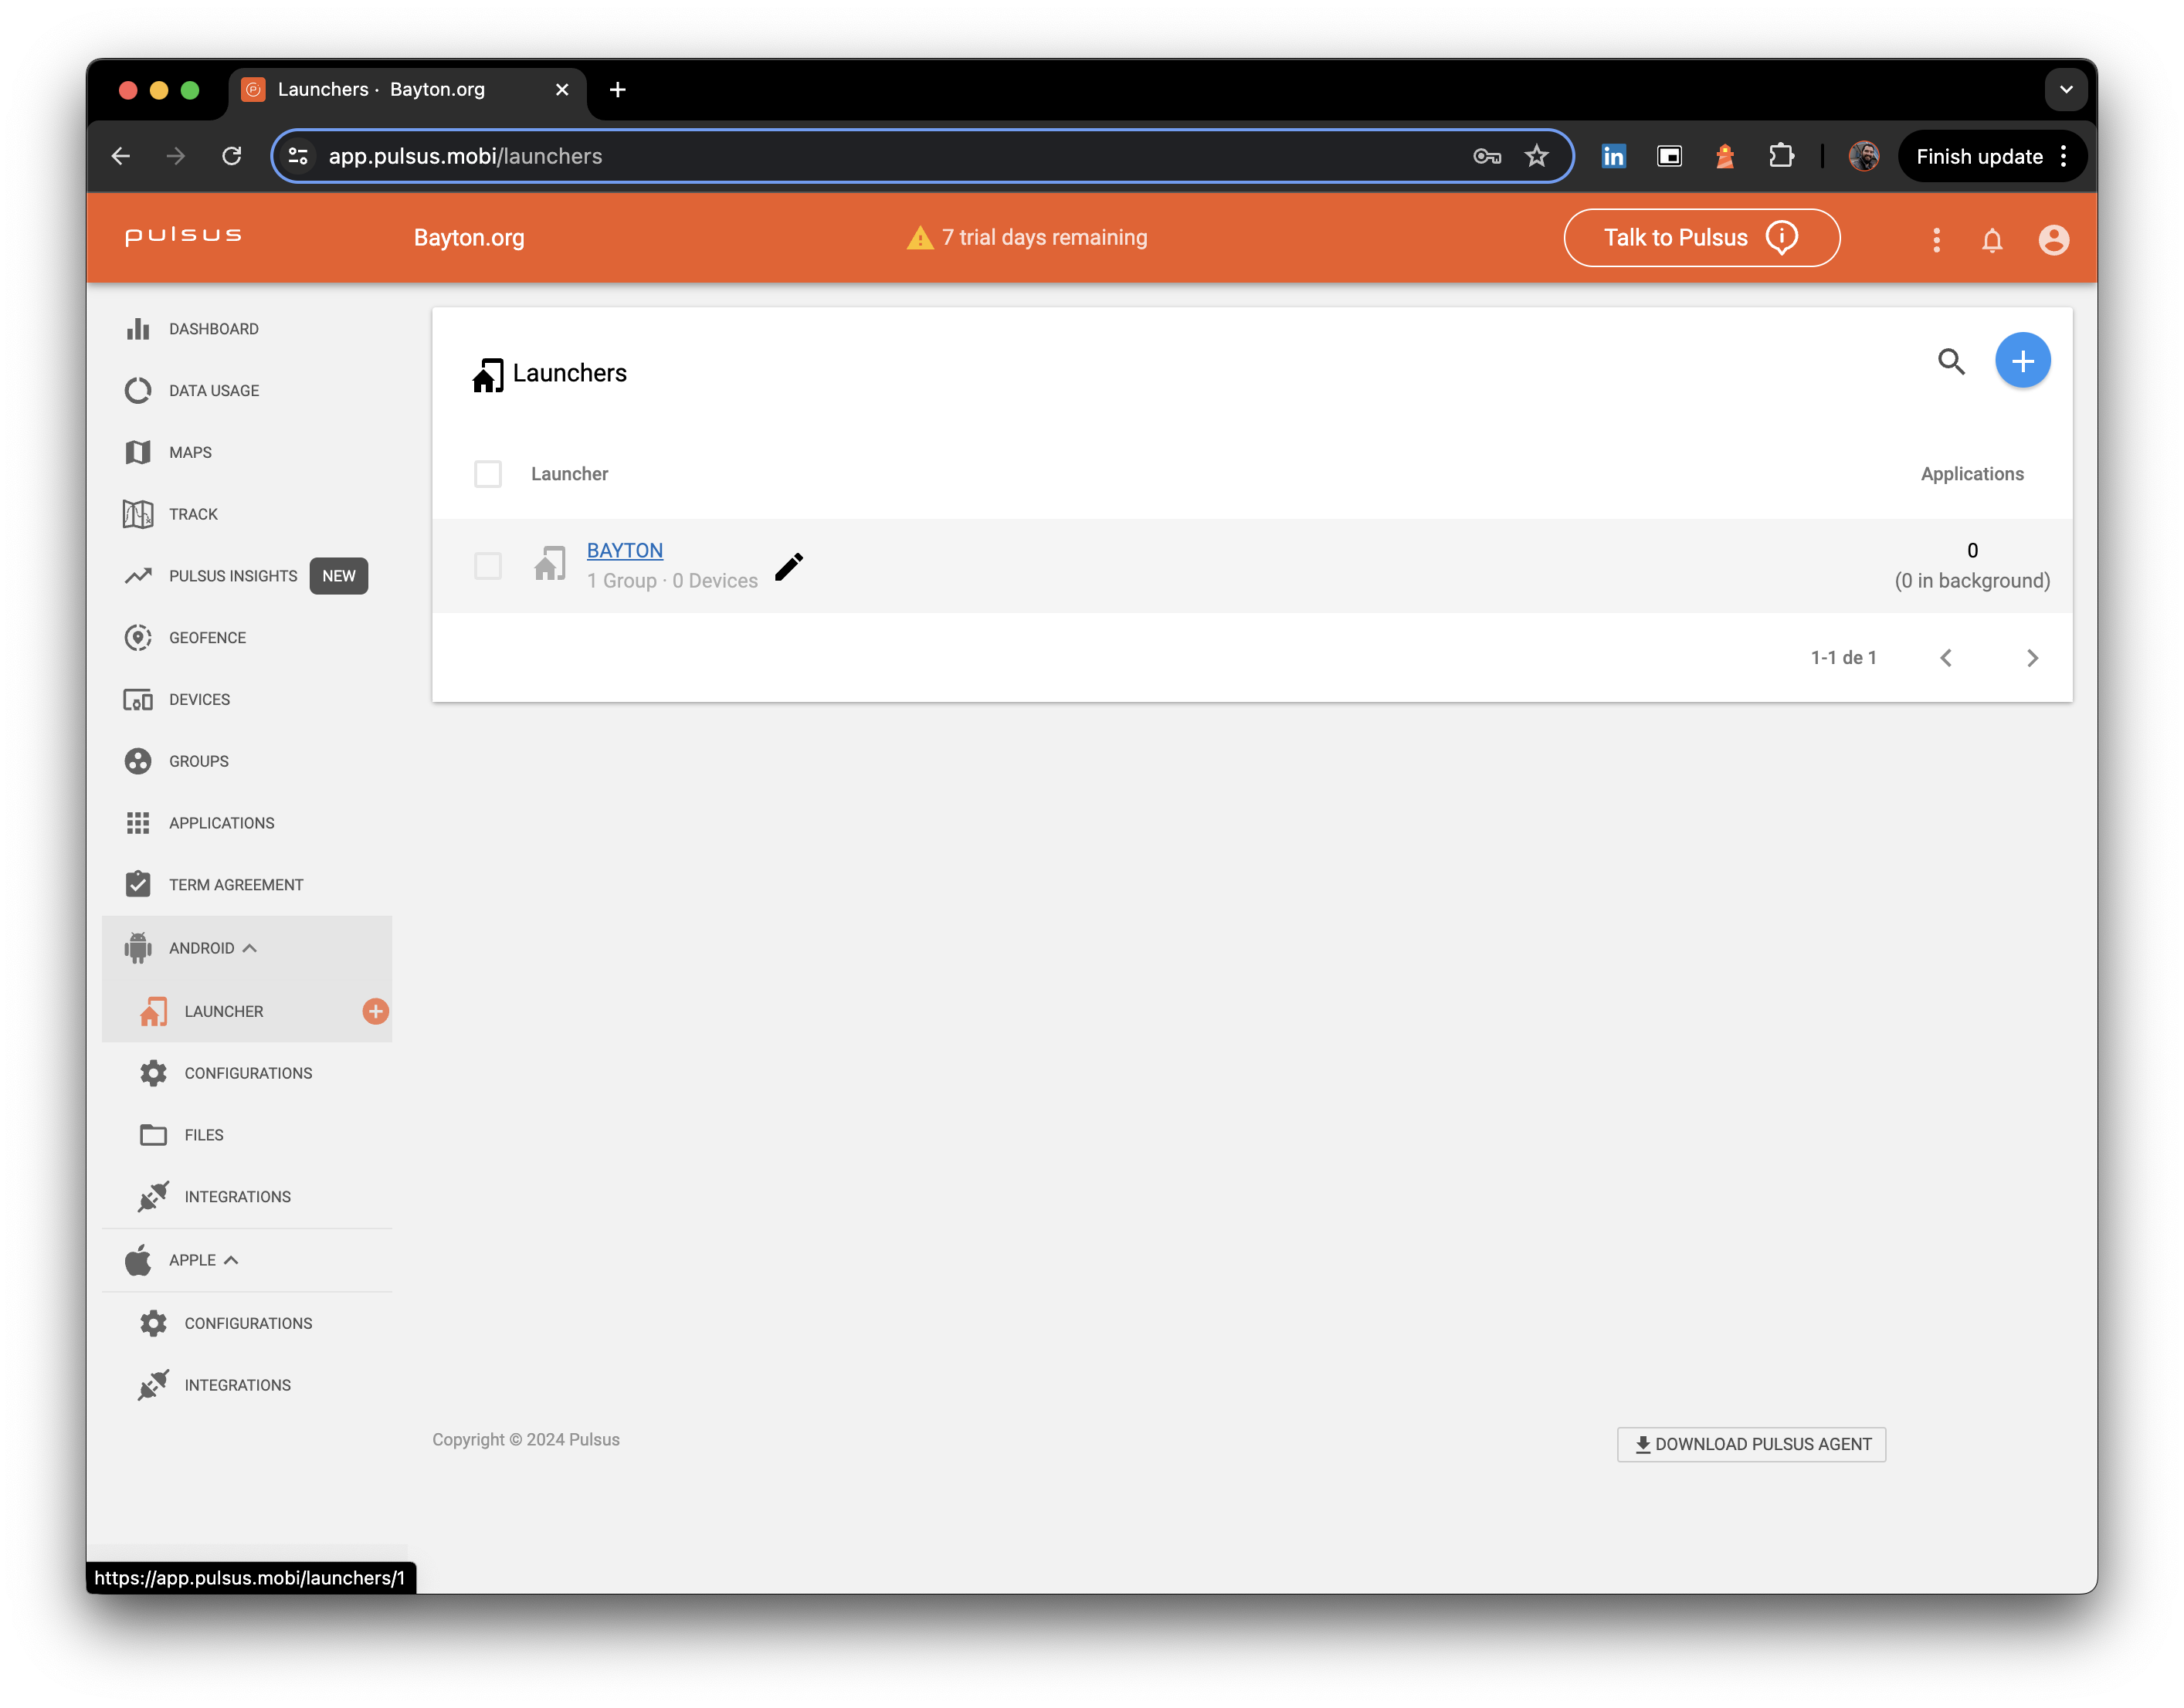
Select or create a new Launcher configuration, assigned to the appropriate group.
Drag MANAGED SETTINGS amongst the configured applications shown in the Launcher config, and optionally adjust launcher settings to lock down the kiosk environment appropriately.
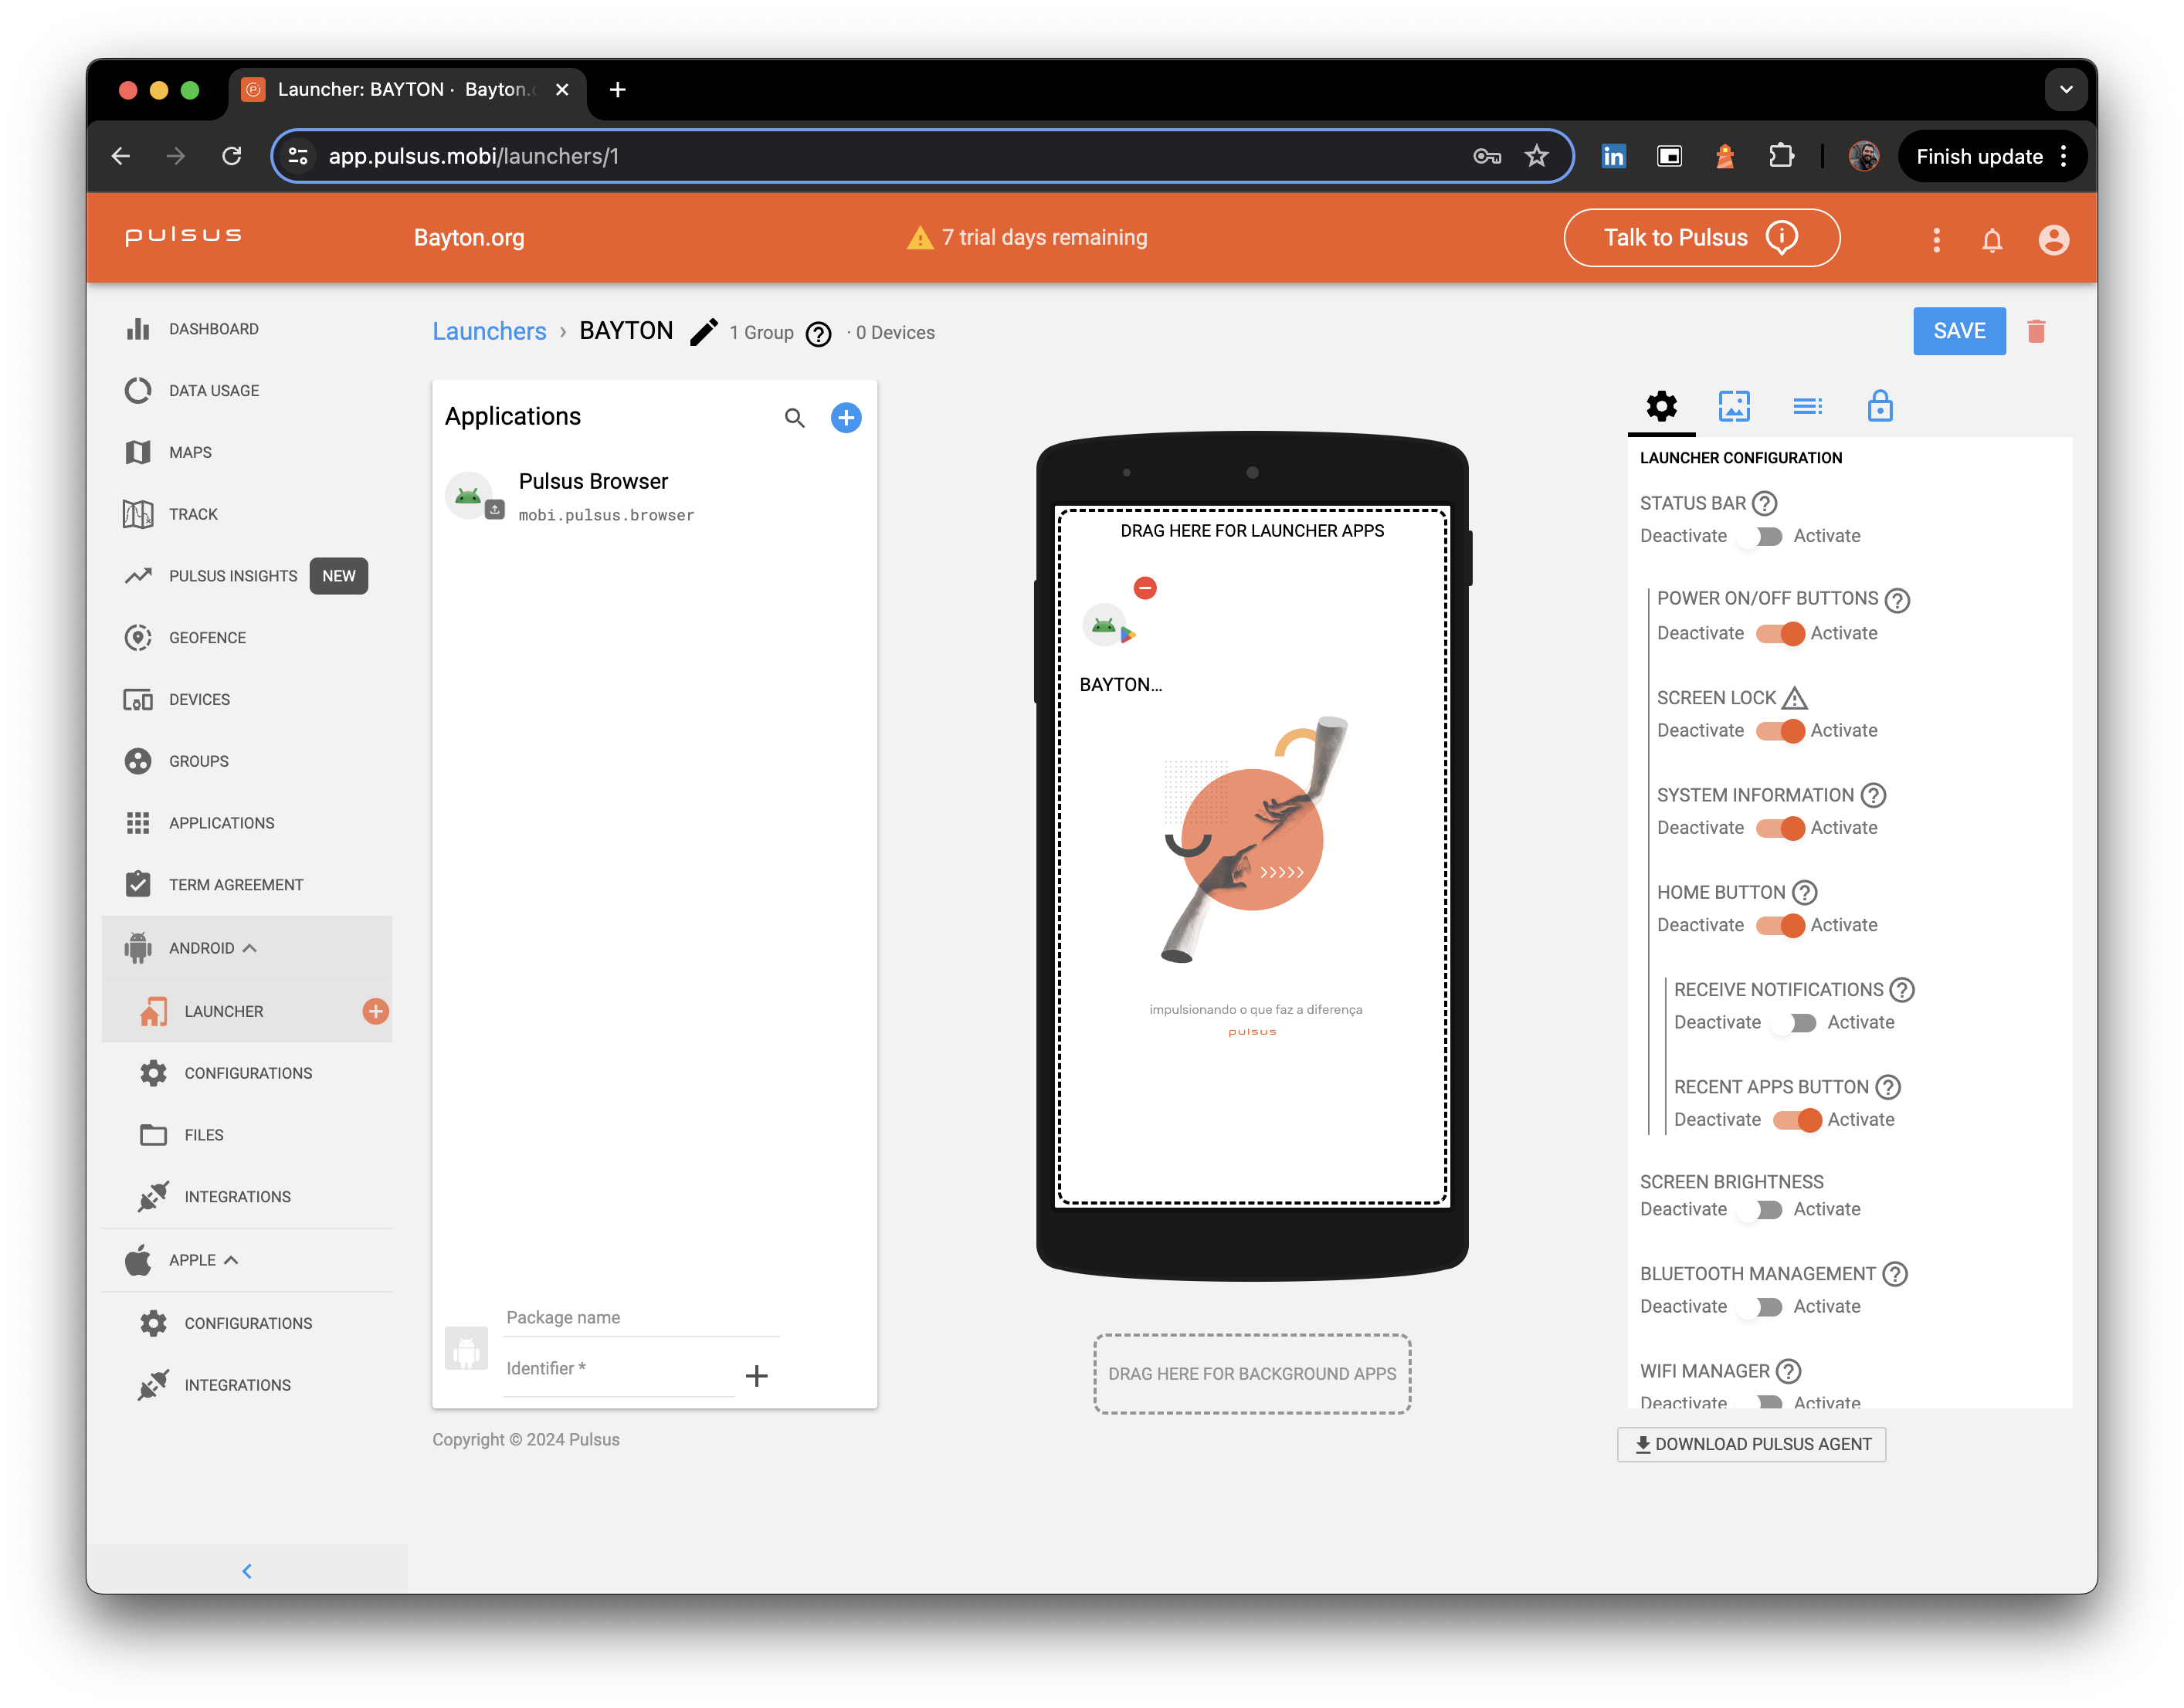
Click SAVE. Configuration is complete.
Are you in need of further help, or would you like to raise a feature request? You can:
- Submit feedback
- Raise a feature request on GitHub
- Join the BAYTON Discord
- Tag me on LinkedIn
Projects
MANAGED INFO open_in_new
- Pricing
-
Support
- The network connectivity card
- Quick start
- The device identifiers card
- Requirements for use
- Supported configurations
- Use cases
- Customise the experience
- Request a new feature
- Managed configuration JSON payload
- Troubleshooting issues
- Using admin override configuration in kiosk mode
- Kiosk vs launcher mode
- Deploy APK packages
- Deploy certificates
- Deploy device wallpapers
- Release notes